Our home renovation is finally complete! Here’s a look at our home renovation before and after, and how it all changed from start to finish! Finishes and paint sources at are the end of the post!
.tasty-pins-banner-container{display:block;margin-bottom:20px;position:relative;width:-moz-fit-content;width:fit-content}.tasty-pins-banner-container a{cursor:pointer;display:flex;font-size:14px;font-weight:700;letter-spacing:1px;line-height:1.8em;text-transform:uppercase}.tasty-pins-banner-container a:hover{opacity:1}.tasty-pins-banner-container .tasty-pins-banner{align-items:center;bottom:0;cursor:pointer;display:flex;justify-content:center;left:0;padding-bottom:1em;padding-top:1em;position:absolute;right:0}.tasty-pins-banner-container .tasty-pins-banner svg{margin-right:4px;width:32px}.tasty-pins-banner-container .tasty-pins-banner span{margin-top:4px}.tasty-pins-banner-container a.tasty-pins-banner{text-decoration:none}.tasty-pins-banner-container a.tasty-pins-banner:hover{opacity:.8}.tasty-pins-banner-container a.tasty-pins-banner-image-link{flex-direction:column}.tasty-pins-banner-container a img{margin-bottom:0}.entry-content .wp-block-image .tasty-pins-banner-container img{margin-bottom:0;padding-bottom:0}#et-boc .et-l div .et_pb_image_wrap .tasty-pins-banner-container .tasty-pins-banner{padding-bottom:1em!important;padding-top:1em;text-decoration:none}#et-boc .et-l div .et_pb_image_wrap .tasty-pins-banner-container a.tasty-pins-banner{cursor:pointer;display:flex;font-size:14px;font-weight:700;line-height:1.8em;text-transform:uppercase}#et-boc .et-l div .et_pb_image_wrap .tasty-pins-banner-container a.tasty-pins-banner span{letter-spacing:2px;margin-top:4px}.et-db #et-boc .et-l .et_pb_module .tasty-pins-banner-container a:not(.wc-forward){padding-bottom:0}
Whew! The renovation over.
This post is slightly delayed because I wanted us to get all settled and have some professional photos taken before I shared an official before and after post! Thanks to Cramer Photo for capturing our home on a sunny September morning. While I don’t know if any home is ever finished being decorated, we have the main pieces in place (minus a coffee table and more art on the walls!).
Overall, the whole renovation wasn’t too bad of a process. I took it one step at a time: pack up, move out, move into rental, focus on being happy in rental, don’t worry about the dust at the house, trust my contractor (haha!), problem solve, and plan for moving back in. I couldn’t imagine living here during the reno, so I’m very glad we decided to move out. All that said, I am VERY glad it’s over and don’t want to move again for a very long time!
If you’re new to this post, here is a renovation timeline for context:
Overall the renovation took a little less than six months, which was honestly a miracle because we thought it could easily take 7-8. Everything went fairly smoothly, including minimal rainstorms when we had no roof in March. We feel incredibly lucky because I’ve watched enough HGTV before and afters to know nothing ever goes exactly according to plan.
The biggest surprises we had came from the HVAC plans, and we did have to go over budget to accommodate those changes. I think we were over budget in just about every category, but as the home remodeling contractor, Thomas builds in padding for this, so we didn’t have a ton of unpredictable surprises. (Check out how to find a good contractor for remodeling.)
My contractor!

We made a few in-the-moment decisions to go over budget too like going for the metal roof, moving the shower, and re-doing the living room fireplace. There is definitely a lot of “if we’re doing all of this work, we might as well do everything now” that is very common in renos. You do not want to ever have to dust your house or re-paint anything again!
We are SOOOOOOO happy with the final product. It’s even better than I could have dreamed of. I thought our renovation would feel a bit more like an addition, but the whole house feels new. Fresh paint, new windows, and refinished floors meant nearly every inch of the house was touched. It even smells new! There is a tiny part of me that wishes we had done the basement too for ultimate cohesiveness, but that would have meant another level of budget and moving out, so I don’t have any major regrets there.
Here are the before and after photos!
Home Renovation Before And After
Kitchen
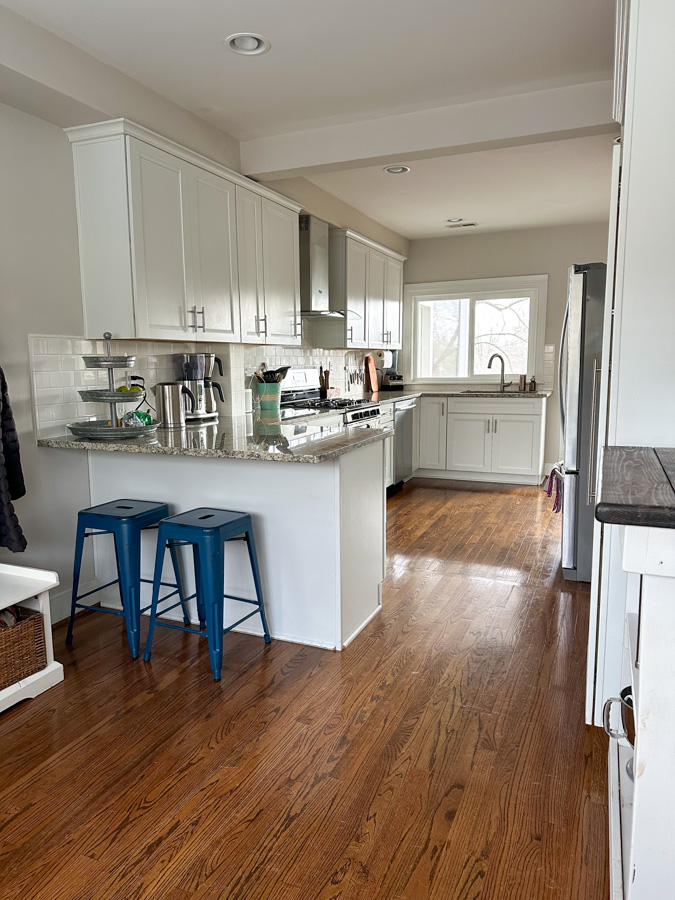
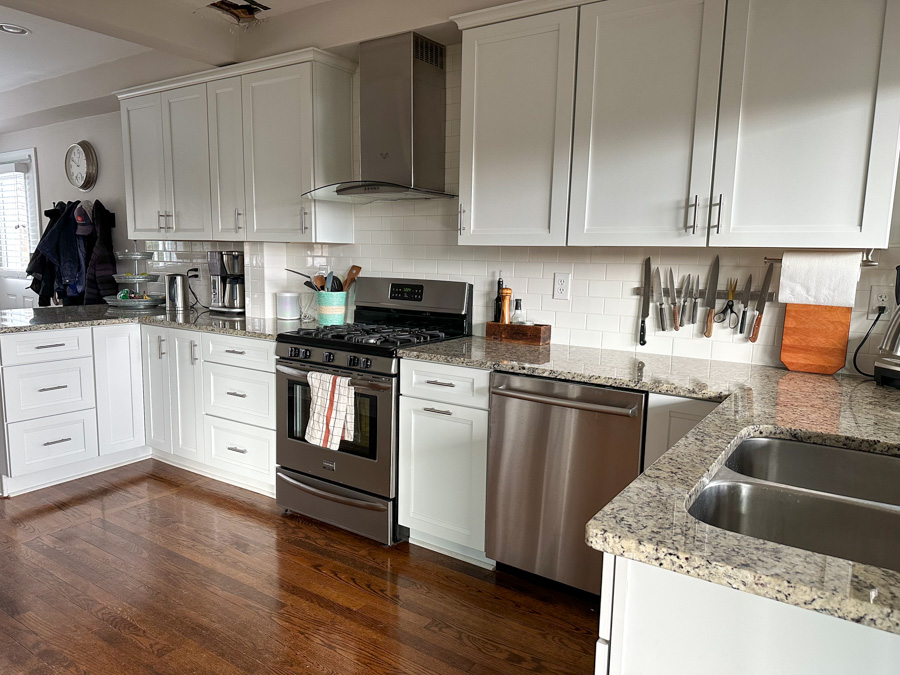
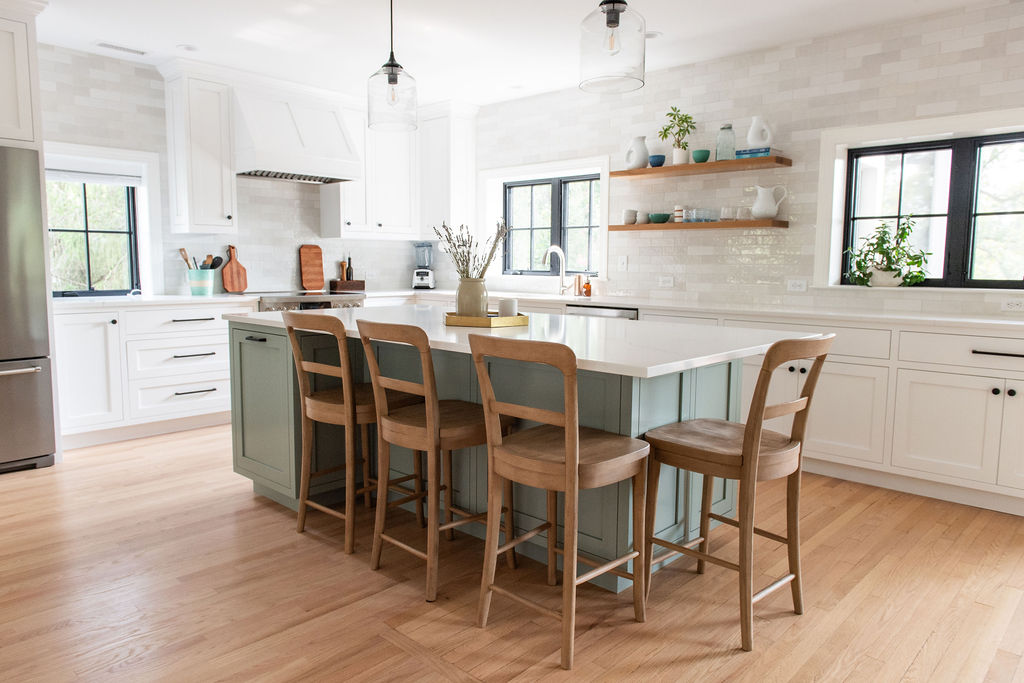
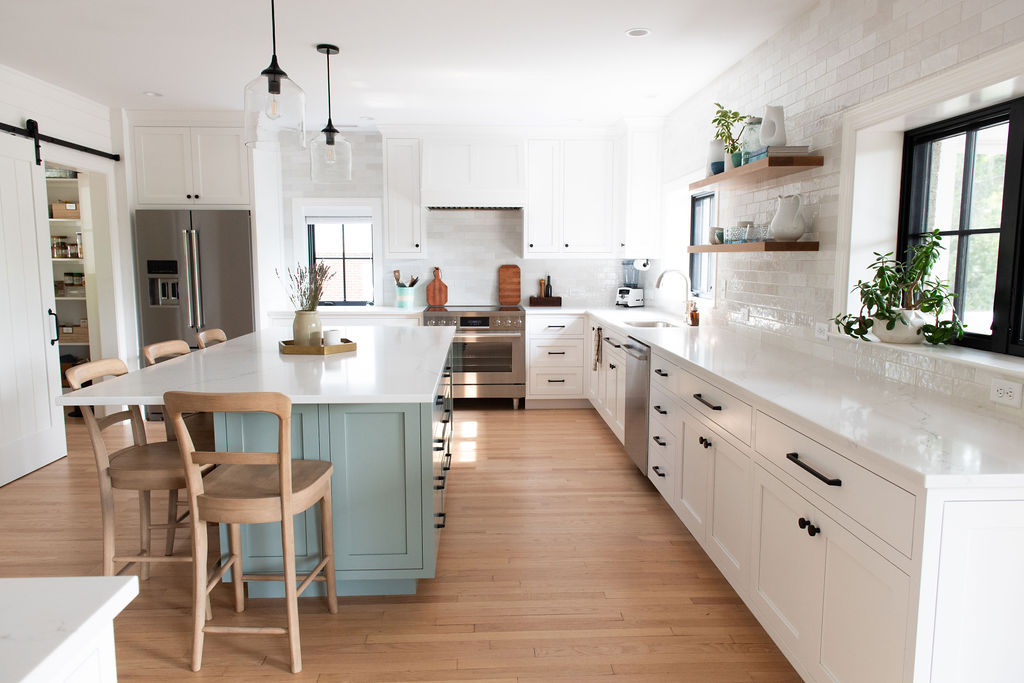
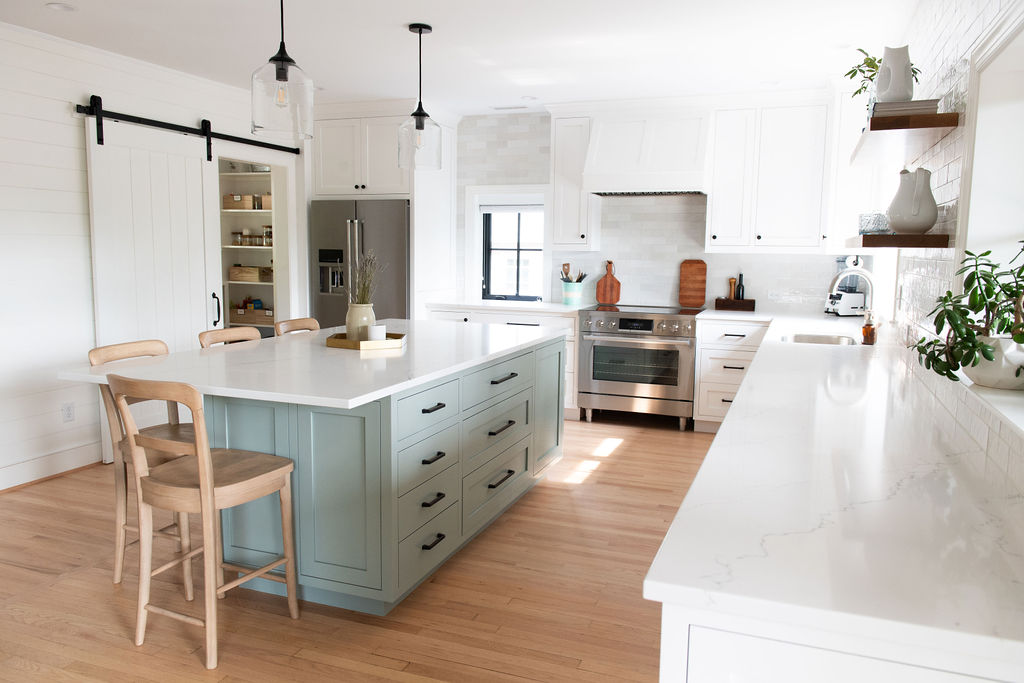
The biggest changes in the renovation were to the kitchen and primary bedroom. We took the wall down that the old kitchen cabinets were on and doubled (tripled?) the size of our kitchen. On our wish list was plenty of storage, a big island, a walk-in pantry, a coffee bar and sink, a drink fridge, and lots more little things. We are so happy with the new kitchen!!
Before
After
Pantry
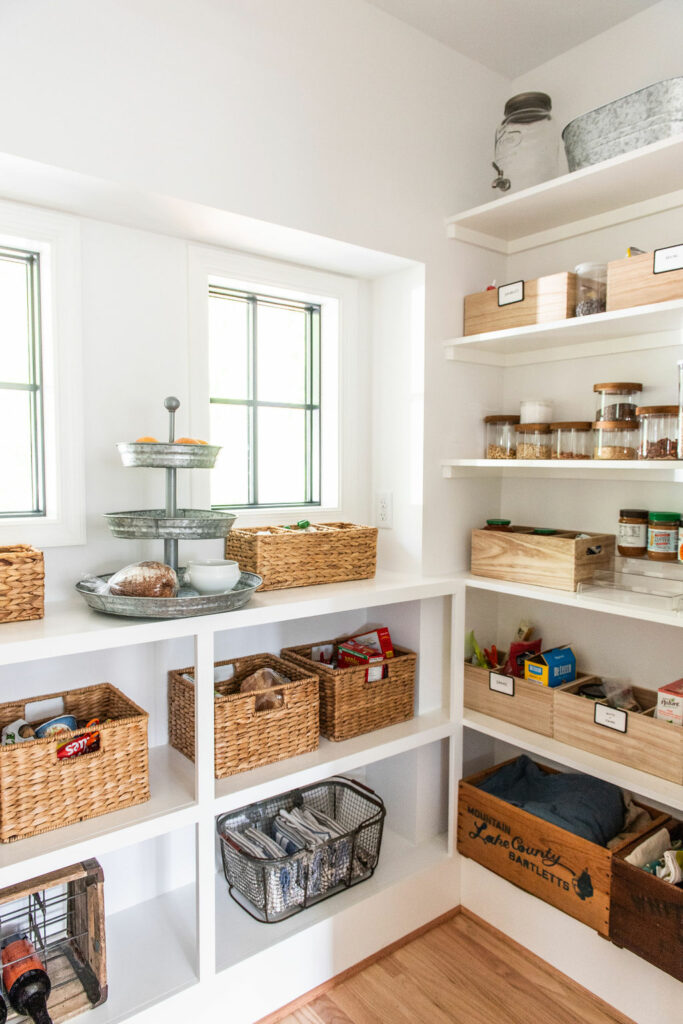
A walk-in pantry has been on my wish list since I started cramming cereal boxes into upper cabinets in my college apartment : ) I designed the new pantry shelving with my father-in-law (who built it!) and organized it with the help of Thomas’s aunt who is a professional organizer in Richmond. The two windows provide sight into the driveway and were where the garage door used to be!
Before
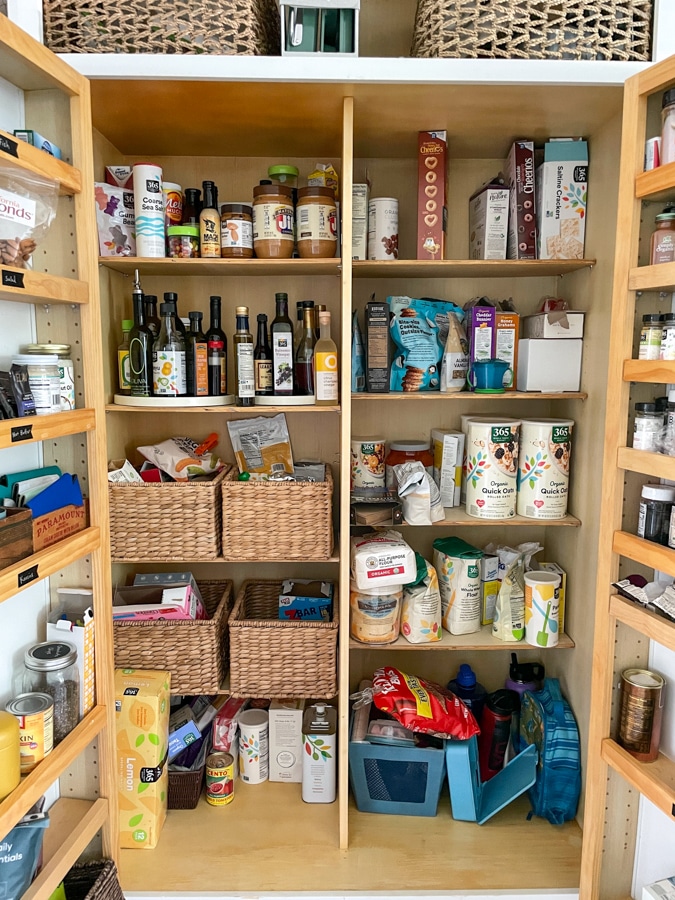
After
Mudroom
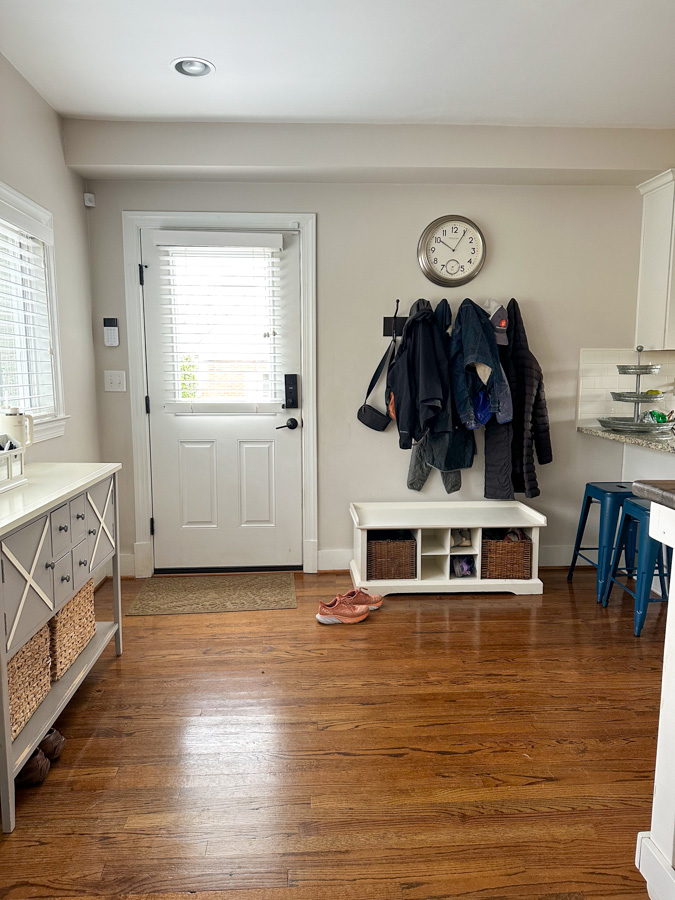
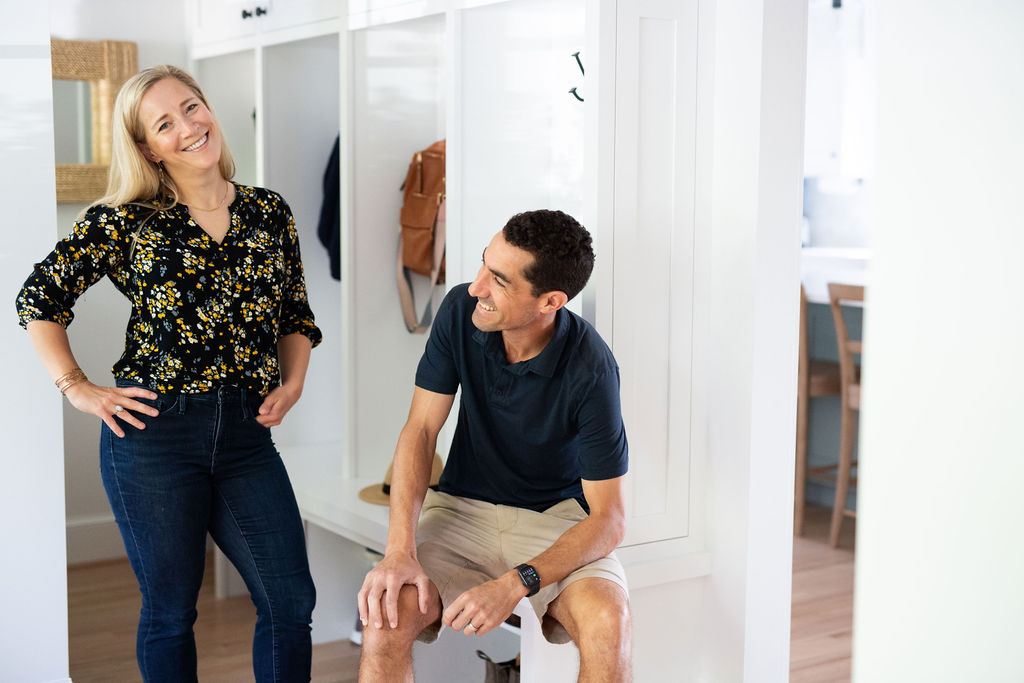
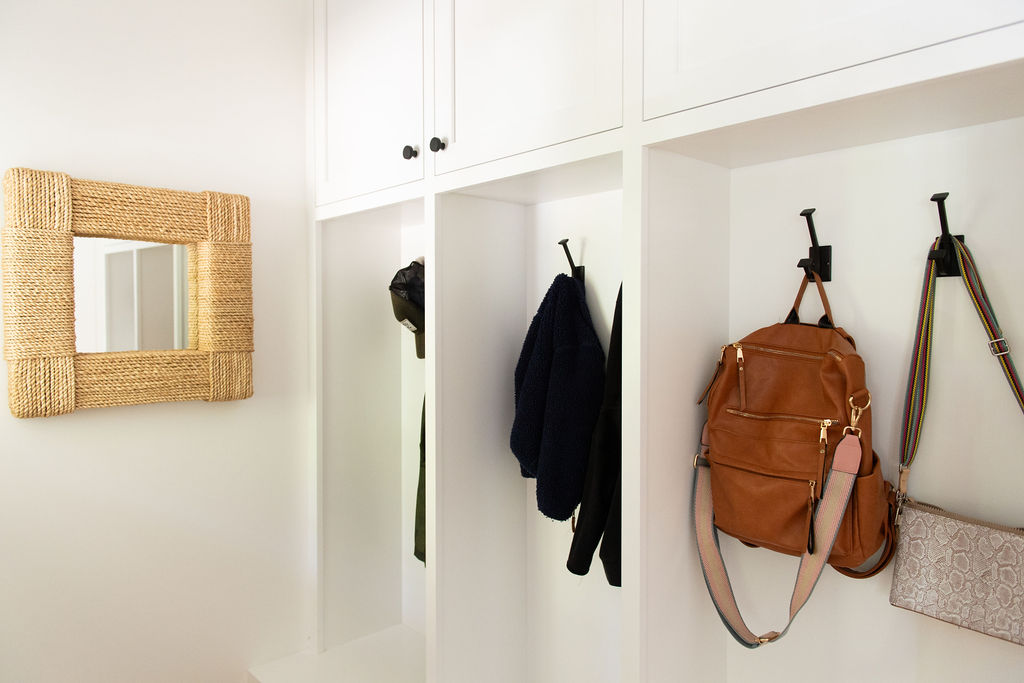
Our mudroom “area” before was a big trouble zone for a family of four. We had space for the things we needed, but the coats and shoes were always overflowing! The new mudroom has a locker for each of us with coat hooks, room for shoes below, and big upper cabinets. You can see how we went into the garage to get the depth for the space here. We considered making it a closed-off room, but for the sake of easy access, we made it more of a nook instead.
Before
After
Living Room + Dining Room
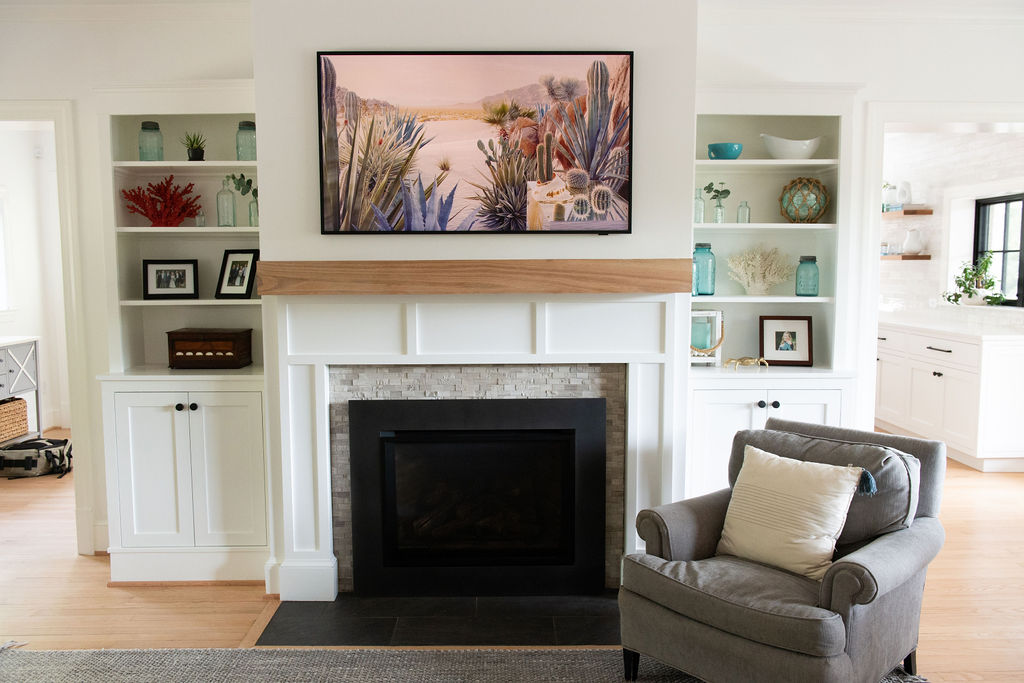
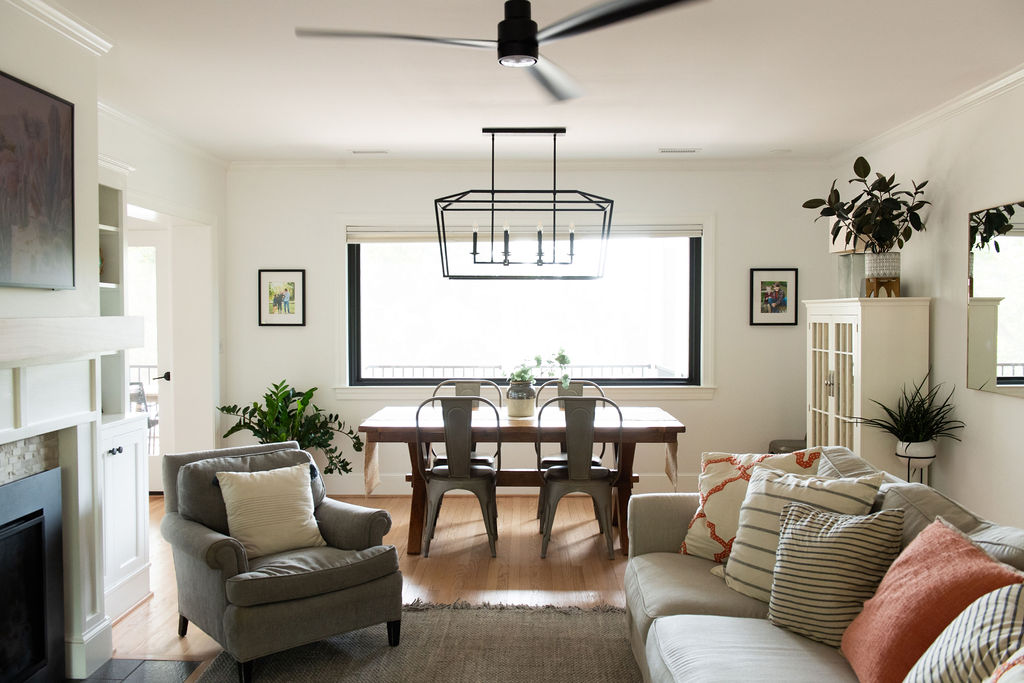
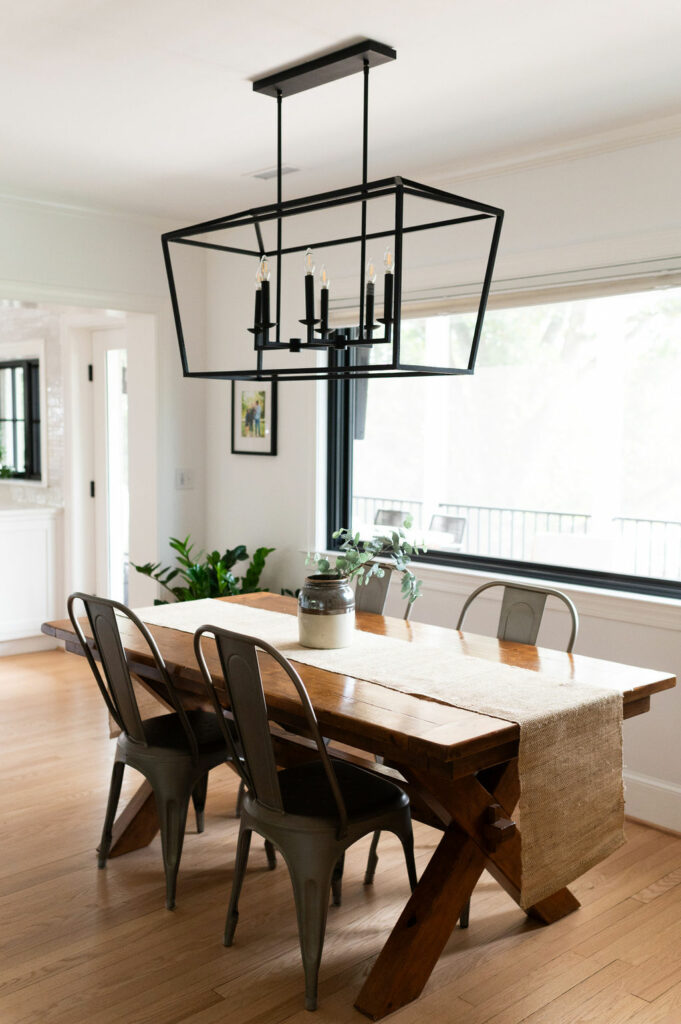
The biggest changes to our main living space were the color scheme, adding a light fixture above the dining table, improving the picture window, new paint, and new floors! Plus a fireplace re-do and a new ceiling fan. We added doors to the lower shelves, a new mantel, and a Frame TV!
Before
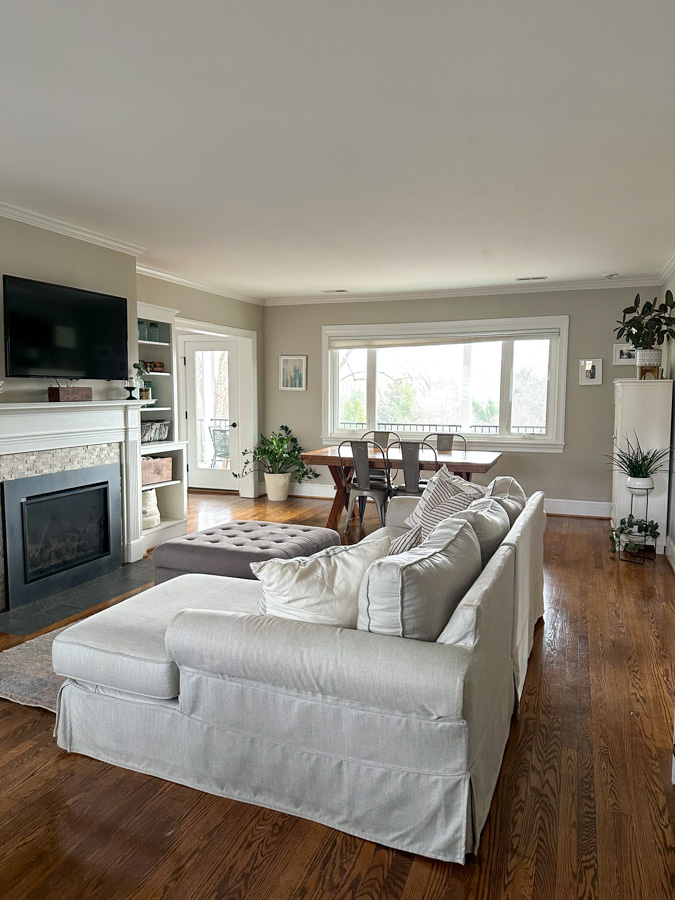
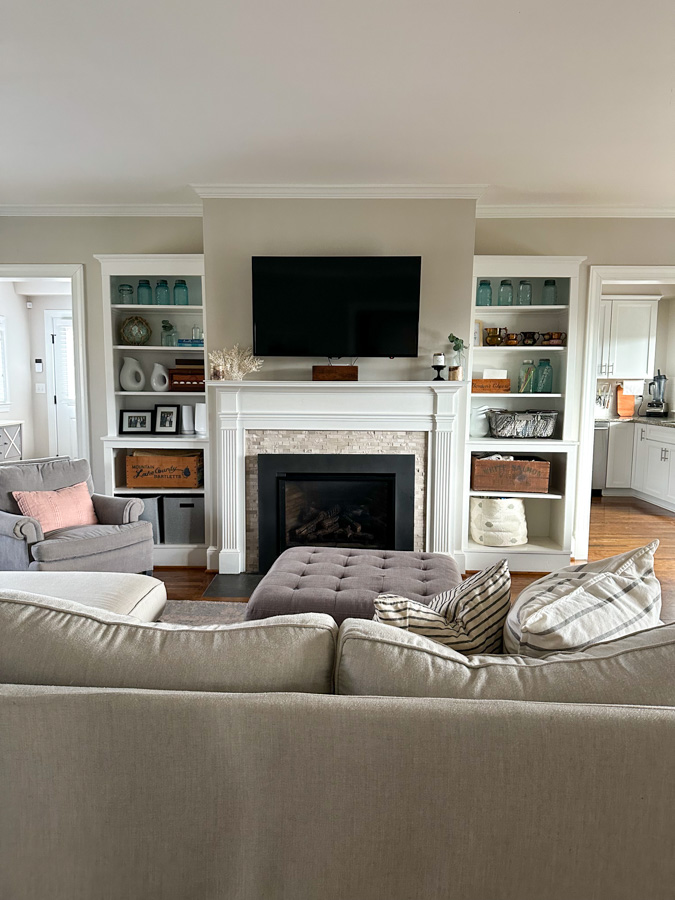
After
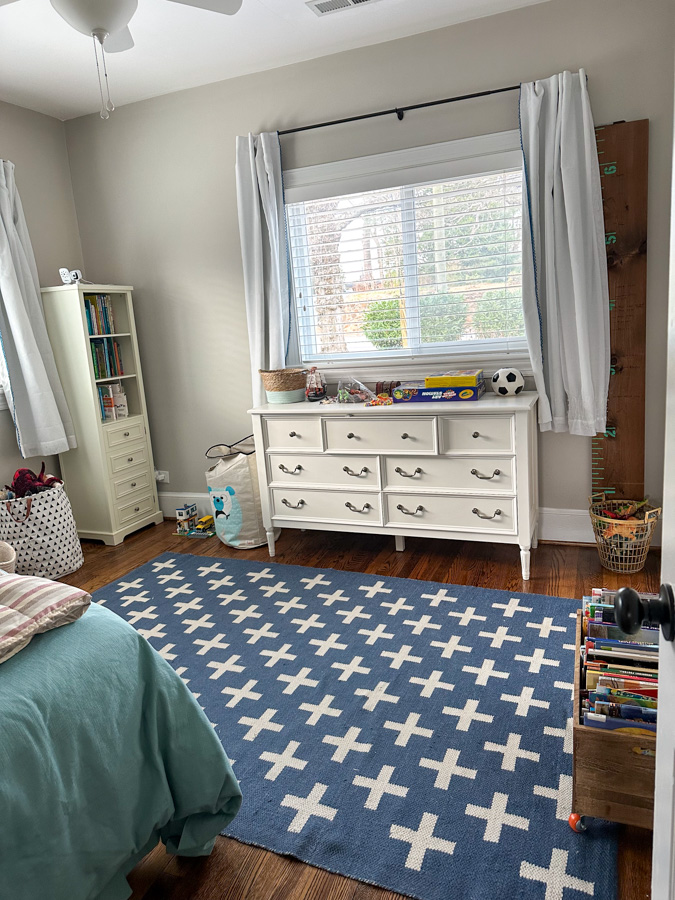
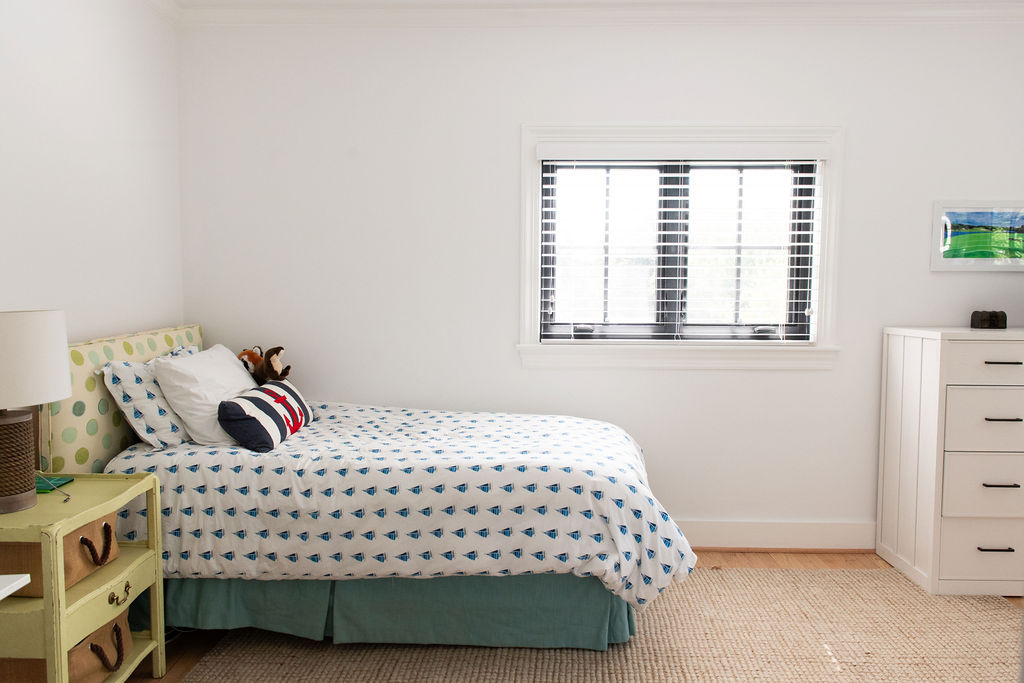
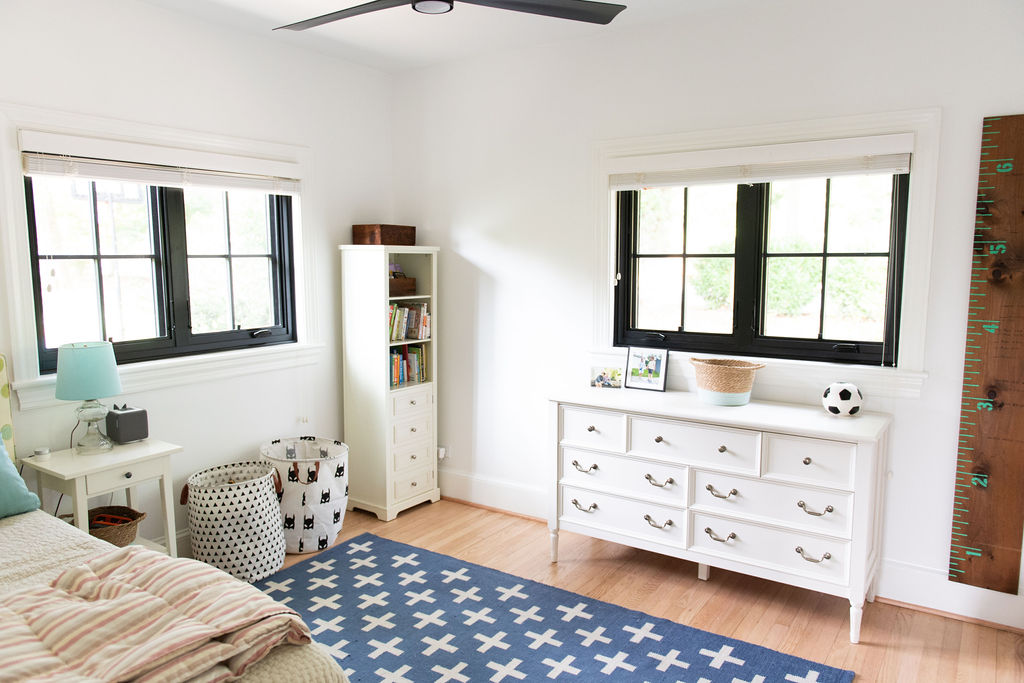
Kids’ Rooms
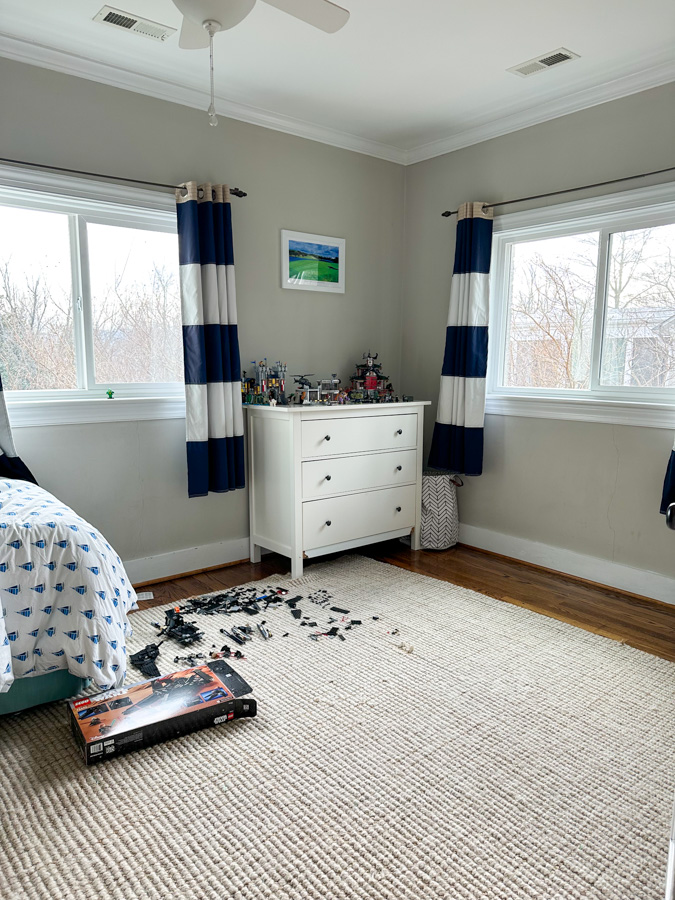
The kids’ rooms got cosmetic upgrades (and better HVAC!) with a new color scheme of white paint, new windows, and refinished floors. We also replaced their mismatched, sagging curtains with blinds that match the rest of the house, plus new black fans.
Stairs
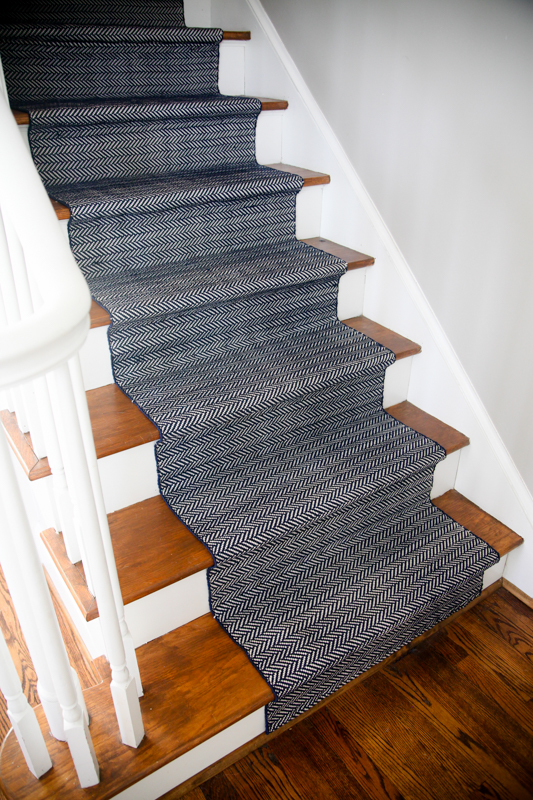
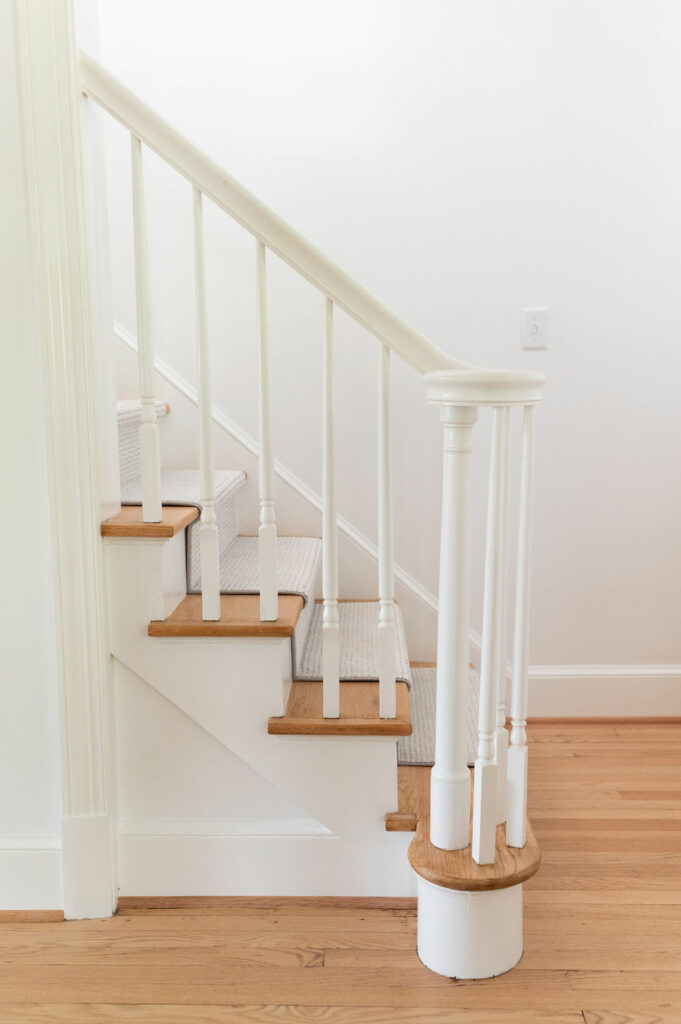
While I did love our blue Dash + Albert runner we DIYed on the previous stairs, the new runner is so light and airy. We also added some dimmable spotlights on the stairs and are great for illuminating them!
Primary Bedroom
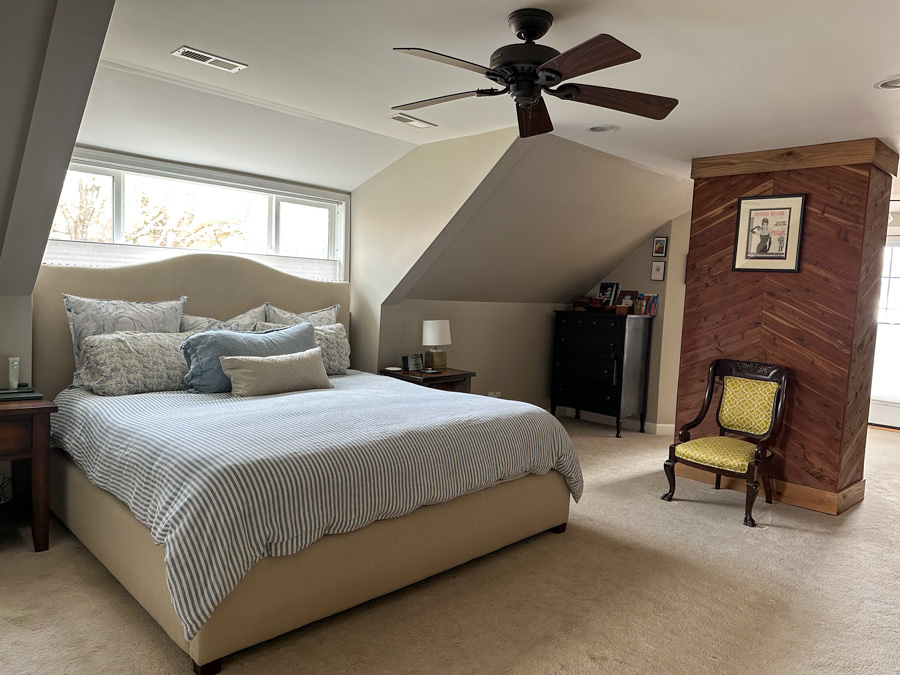
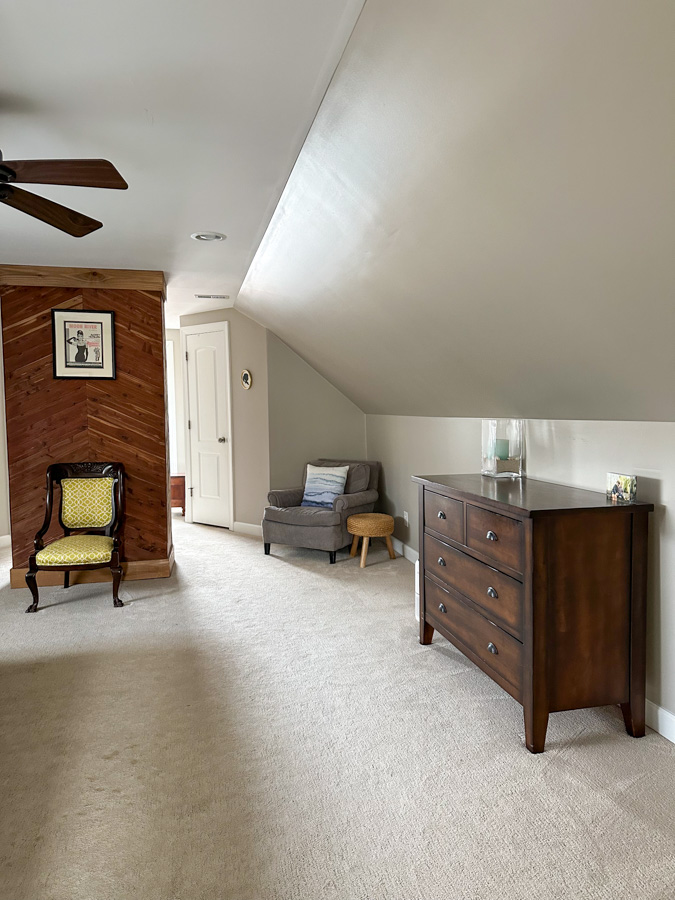
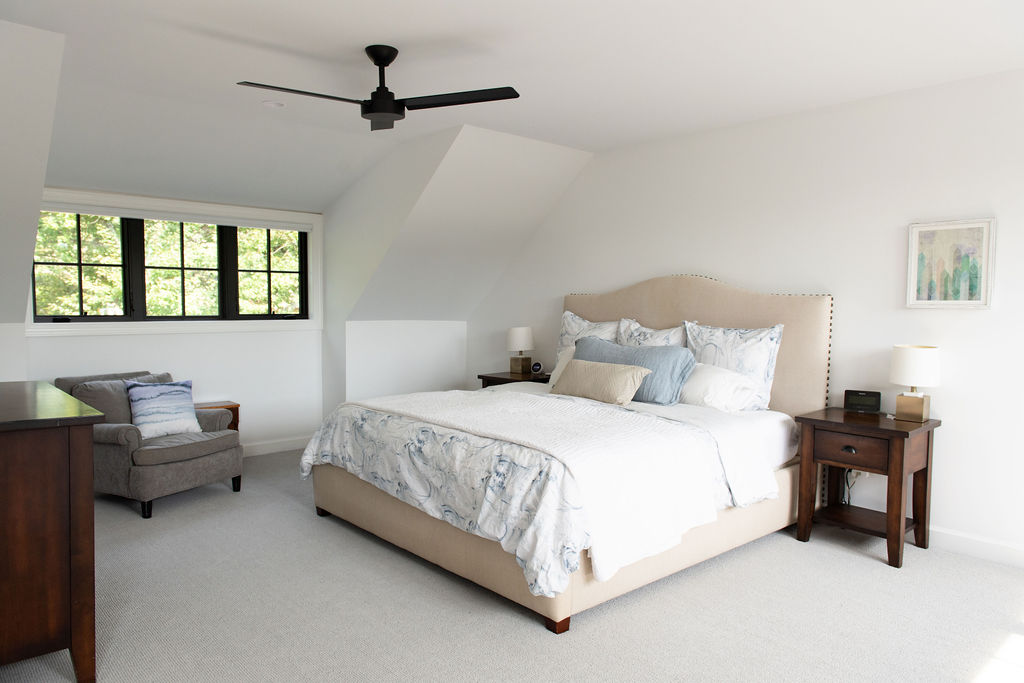
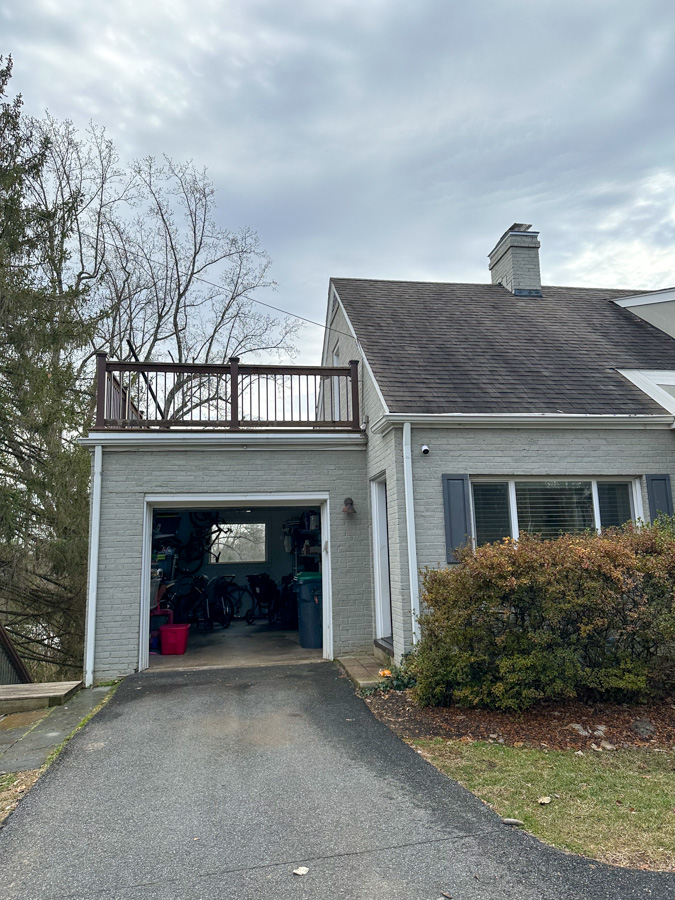
The second most dramatic part of our home renovation was in our primary bedroom! While the kickstart of the reno was on the kitchen, we knew we wanted to add a dormer up here for some windows off the back of the house. And then we ended up gutting the whole thing! The dormer is huge and spans the entire back of the house, including the primary bathroom. The difference in the before and afters is mind-blowing to me! We did all new paint, carpet, closets, a new roof, and turned the roof deck we never used over the garage into a storage room. We also re-oriented our bed on the new wall that we built to enclose the fireplace with the goal of better utilizing the space.
Before
After
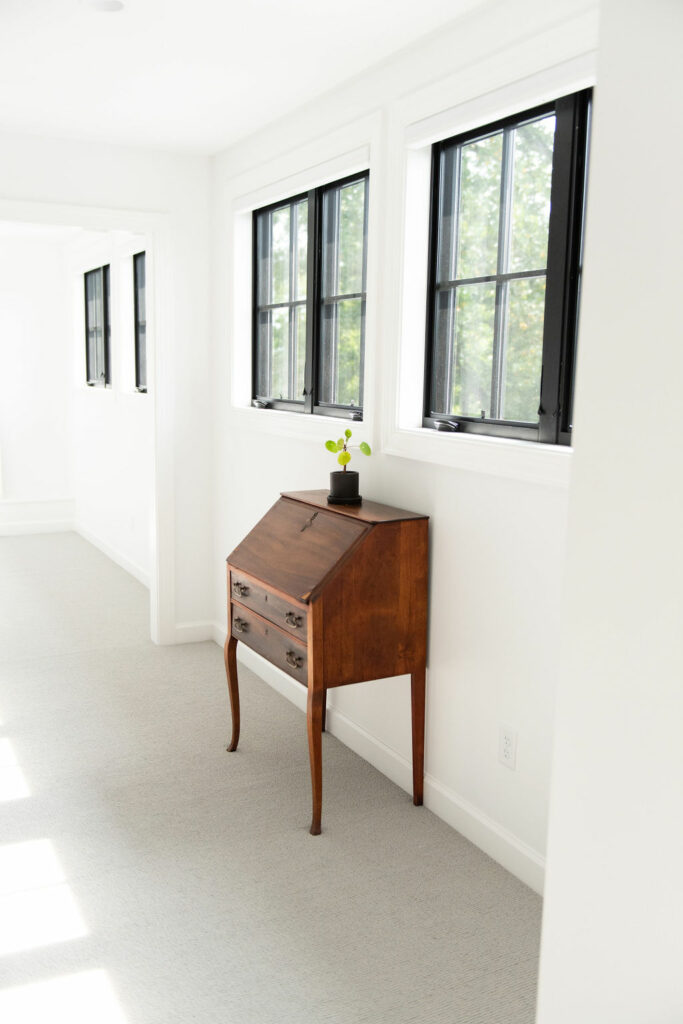
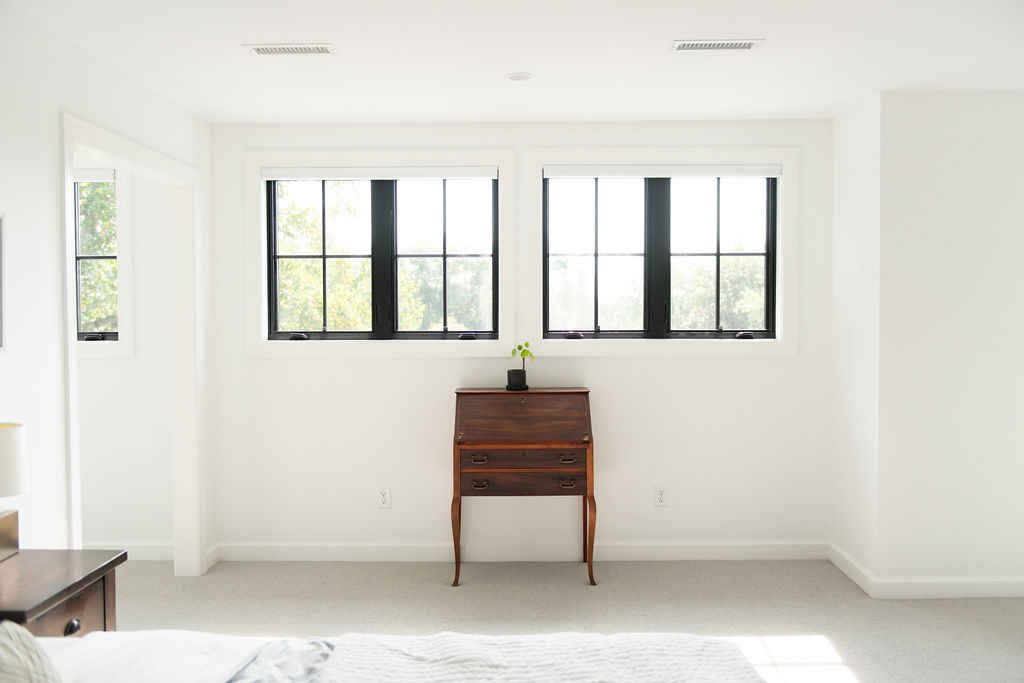
Closets
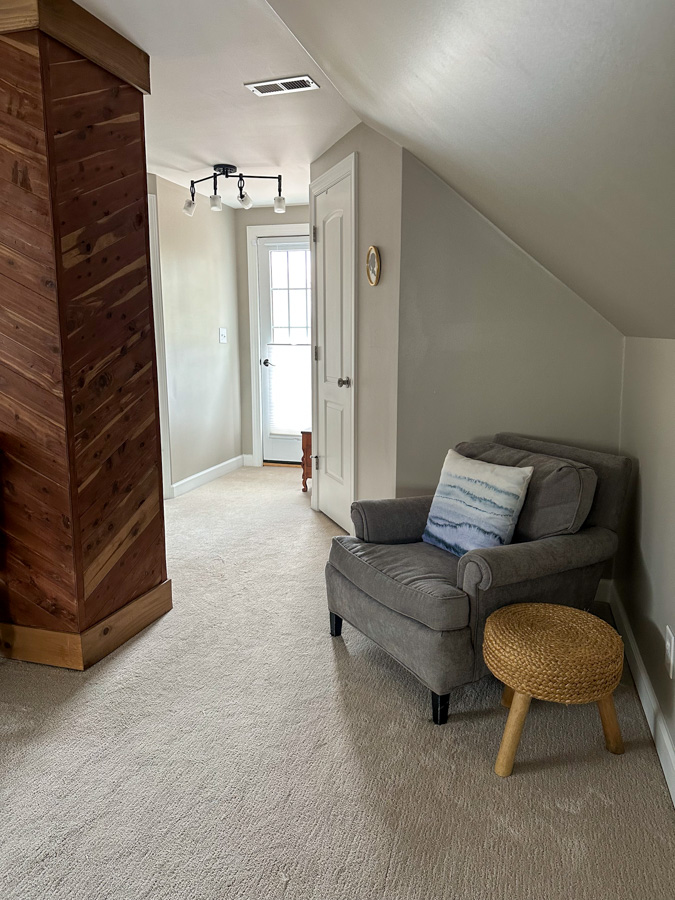
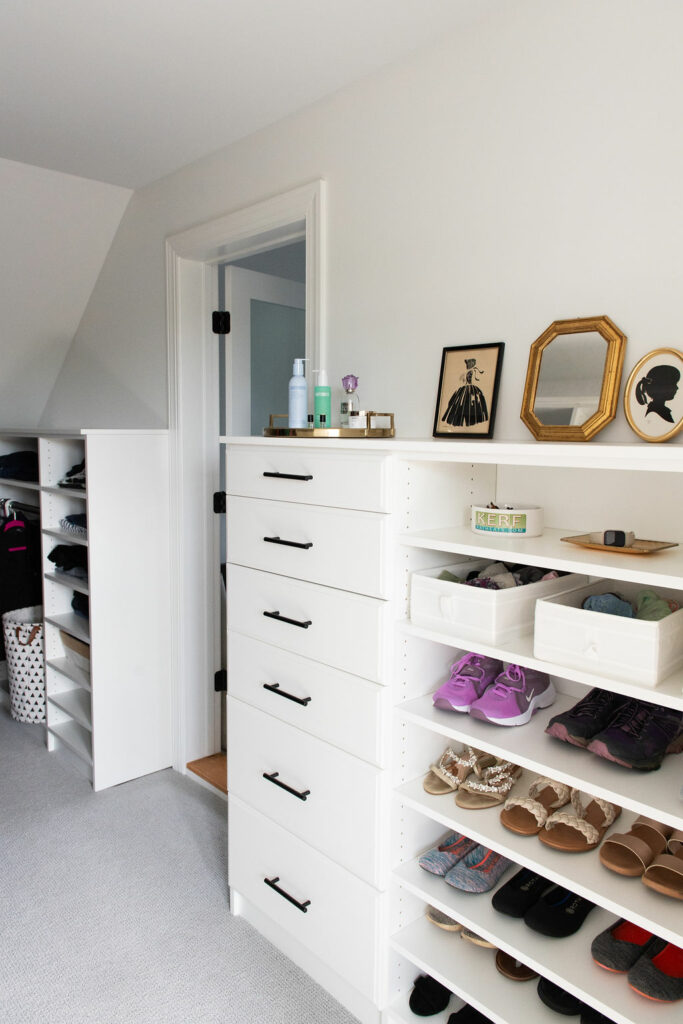
Our previous closets were tucked into two corners with the deck door between them. They were small but mighty. But the new ones are a major upgrade!! Side by side and outfitted with EasyClosets systems.
Before
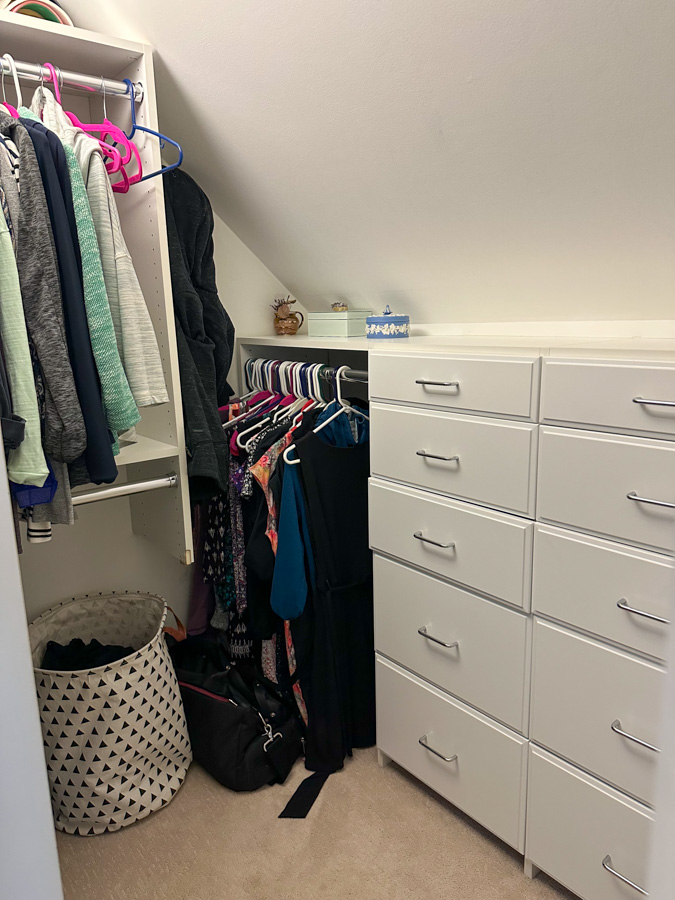
After

Primary Bathroom
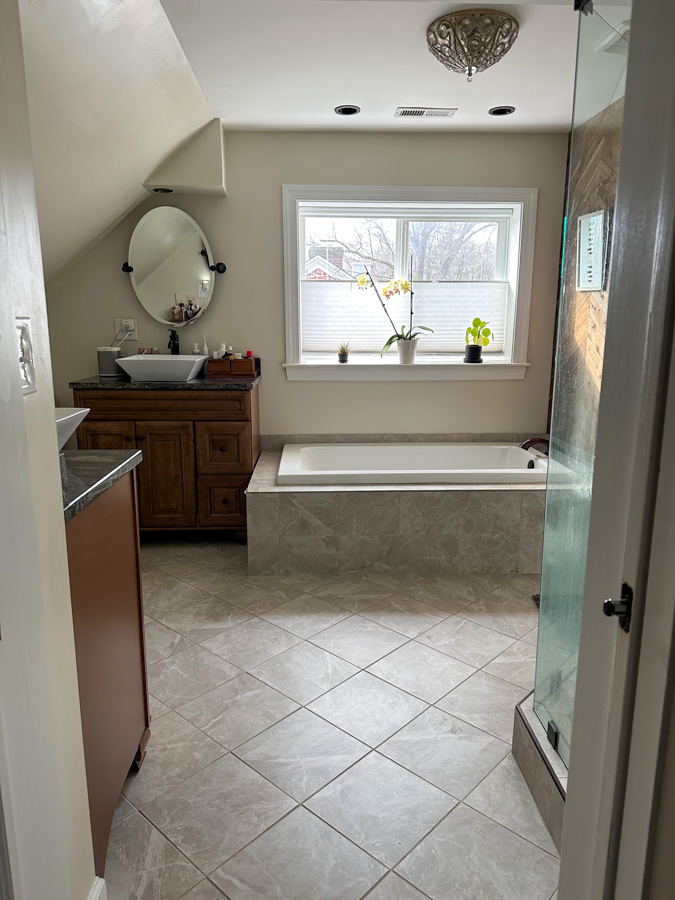
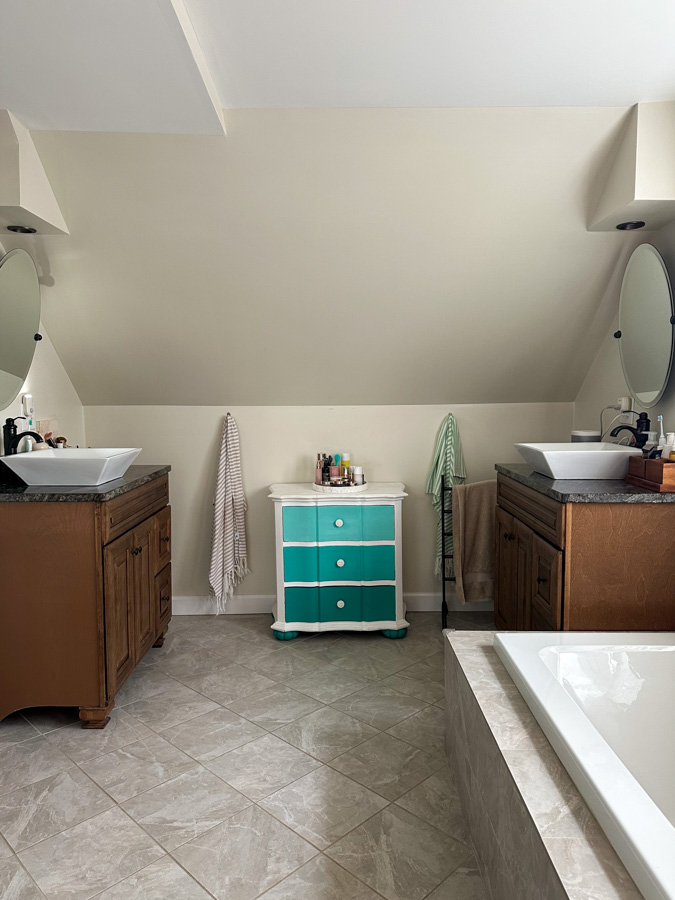
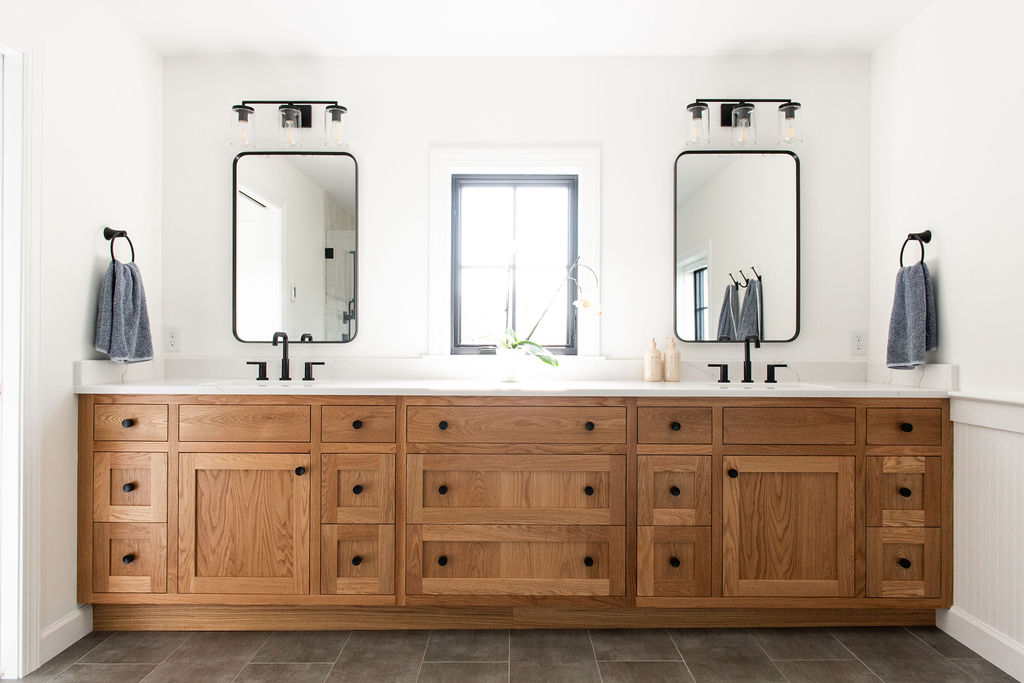
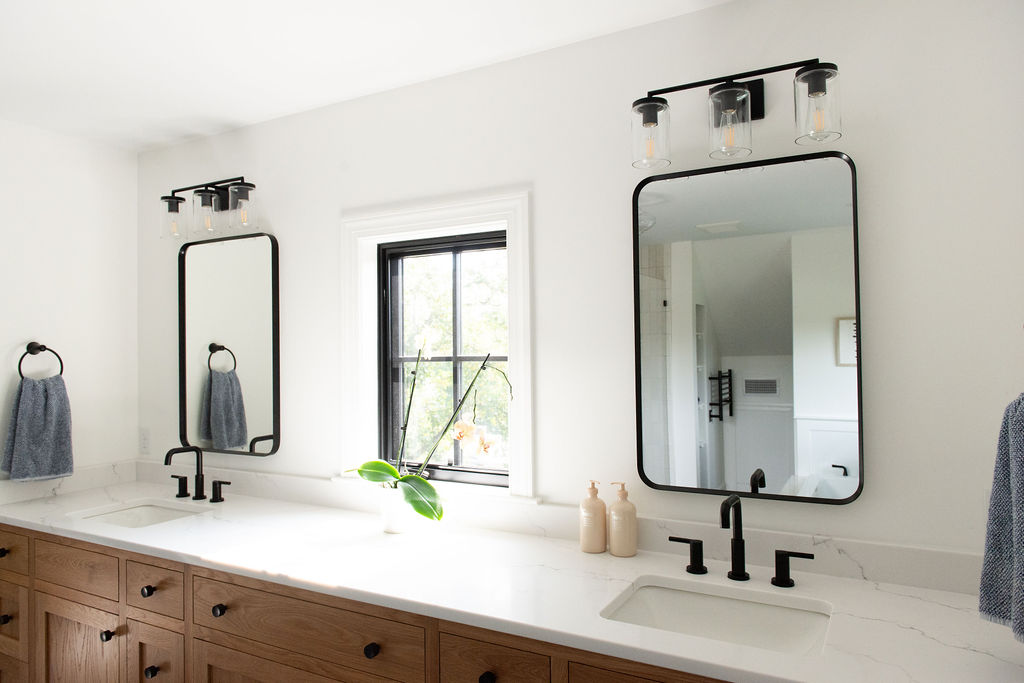
The new primary bathroom is DREAMY! It is light and airy, bigger, and has the most beautiful white oak vanity spanning the whole back! We are obsessed. We moved the shower over a bit, added a new alcove for shampoos, and put in heated floors.
Before
After
Exterior
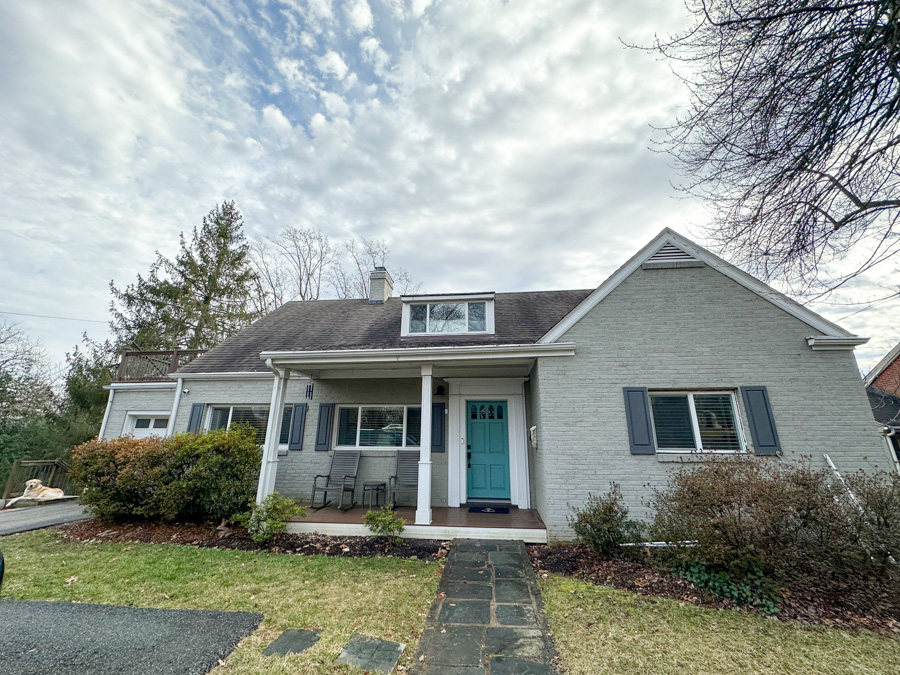
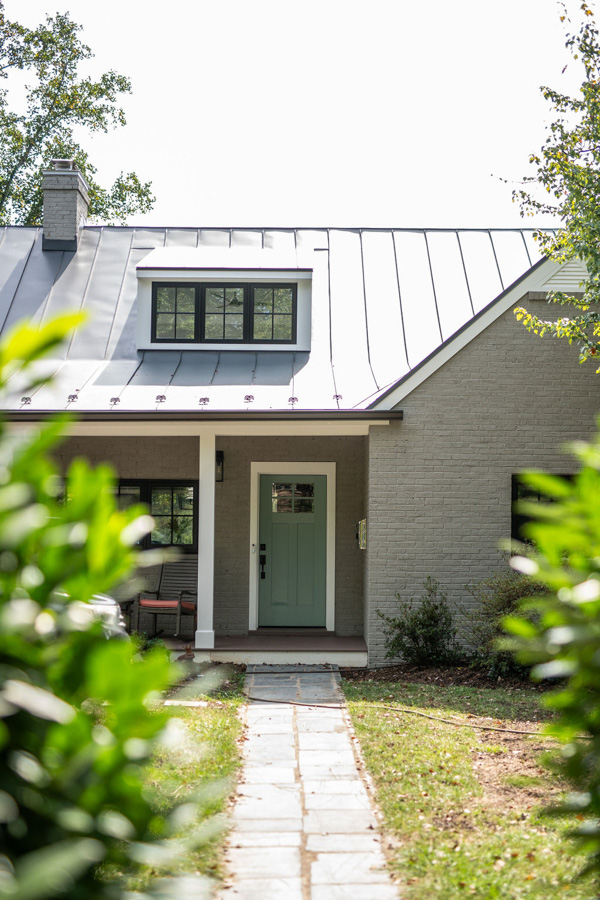
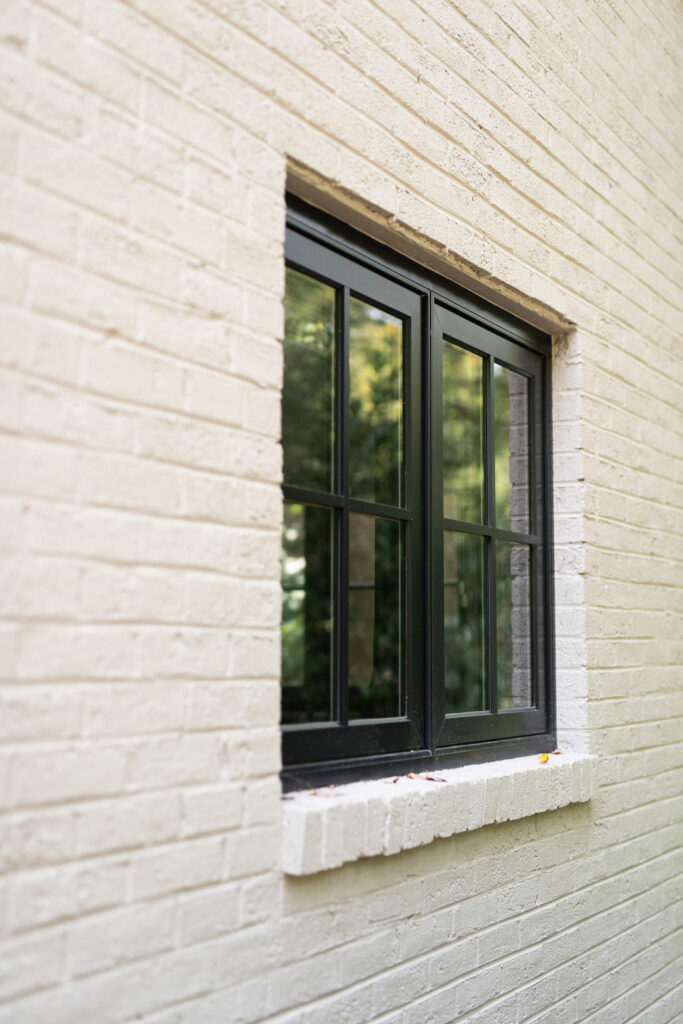
The exterior makeover involved a new roof, new paint, new windows, and a new front door color. We love to sit in the rocking chairs and watch the boys play in the front yard.
Before
After
(more after pics to come!)

Sources
All White Paint (Walls, Trim, Kitchen)
Benjamin Moore Chantilly Lace
Kitchen Island
Benjamin Moore Castle Walls
Front Door
Benjamin Moore Stratton Blue
Exterior Paint
Sherwin Williams Fawn Brindle
Windows
Floors
Red oak stained in Bona Natural Water-based finish
Kitchen + Living Finishes
Primary Bath Finishes
Tile + Countertops
Kitchen Backsplash
Shower Wall Tile
2.5 X 8 La Riviera White Gloss
Grout Color Selected Frosty
Shower Floor
2 x 2 Baltimore Gris
Grout Color Selected Stormy Grey
Shower Niche
Bianco Carrara – Herringbone Mosaic 5/8 x 1-1/4
Grout Color Selected Frosty
Floor Tile
12 x 24 Baltimore Gris
Bath Floor – Grout Color Selected Stormy Grey

