Here are some more house updates for you including hanging the drywall and some paint updates!
.tasty-pins-banner-container{display:block;margin-bottom:20px;position:relative;width:-moz-fit-content;width:fit-content}.tasty-pins-banner-container a{cursor:pointer;display:flex;font-size:14px;font-weight:700;letter-spacing:1px;line-height:1.8em;text-transform:uppercase}.tasty-pins-banner-container a:hover{opacity:1}.tasty-pins-banner-container .tasty-pins-banner{align-items:center;bottom:0;cursor:pointer;display:flex;justify-content:center;left:0;padding-bottom:1em;padding-top:1em;position:absolute;right:0}.tasty-pins-banner-container .tasty-pins-banner svg{margin-right:4px;width:32px}.tasty-pins-banner-container .tasty-pins-banner span{margin-top:4px}.tasty-pins-banner-container a.tasty-pins-banner{text-decoration:none}.tasty-pins-banner-container a.tasty-pins-banner:hover{opacity:.8}.tasty-pins-banner-container a.tasty-pins-banner-image-link{flex-direction:column}.tasty-pins-banner-container a img{margin-bottom:0}.entry-content .wp-block-image .tasty-pins-banner-container img{margin-bottom:0;padding-bottom:0}#et-boc .et-l div .et_pb_image_wrap .tasty-pins-banner-container .tasty-pins-banner{padding-bottom:1em!important;padding-top:1em;text-decoration:none}#et-boc .et-l div .et_pb_image_wrap .tasty-pins-banner-container a.tasty-pins-banner{cursor:pointer;display:flex;font-size:14px;font-weight:700;line-height:1.8em;text-transform:uppercase}#et-boc .et-l div .et_pb_image_wrap .tasty-pins-banner-container a.tasty-pins-banner span{letter-spacing:2px;margin-top:4px}.et-db #et-boc .et-l .et_pb_module .tasty-pins-banner-container a:not(.wc-forward){padding-bottom:0}
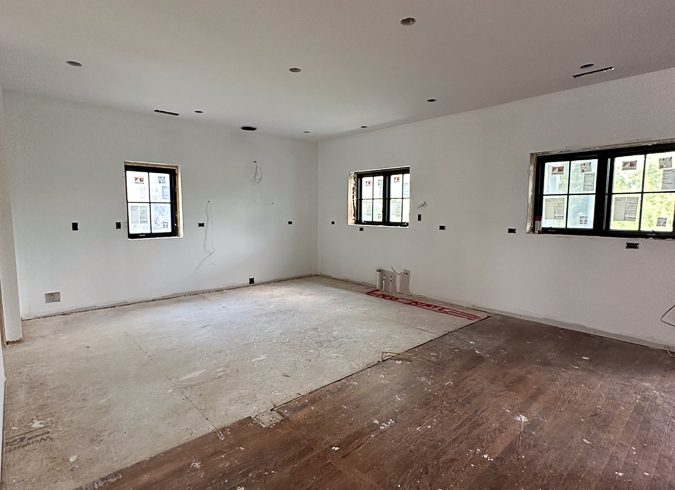
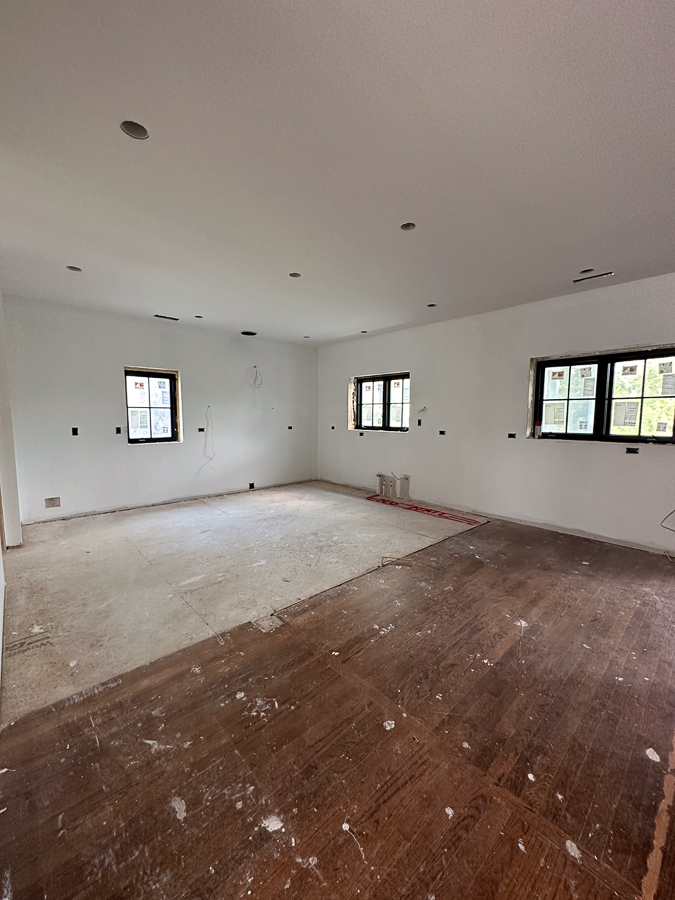
The last three house update blog posts have been framing, roof, and windows. The rooms have really taken shape in the past few weeks as insulation was complete and sheetrock was installed in one really exciting and fast day!
Before:
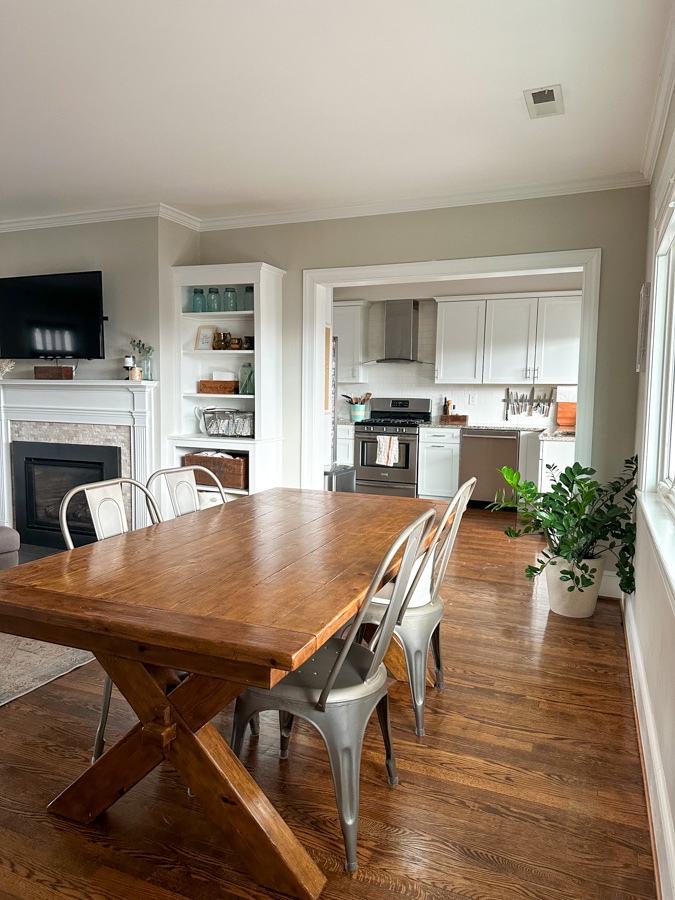
After framing:
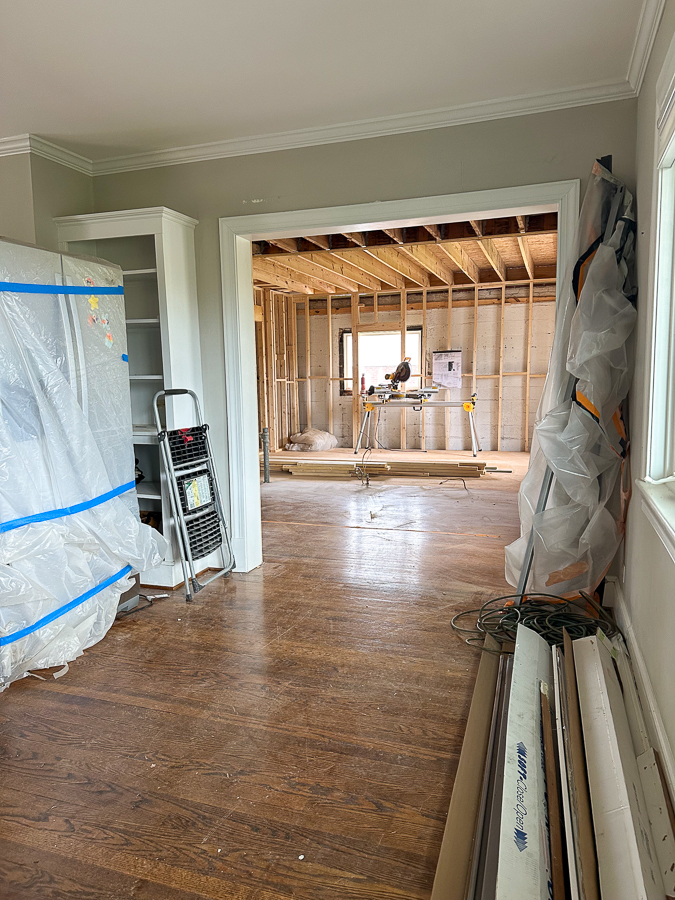
Hanging The Drywall
It is incredible how much bigger this space is (I did use a wide angle photo however.)
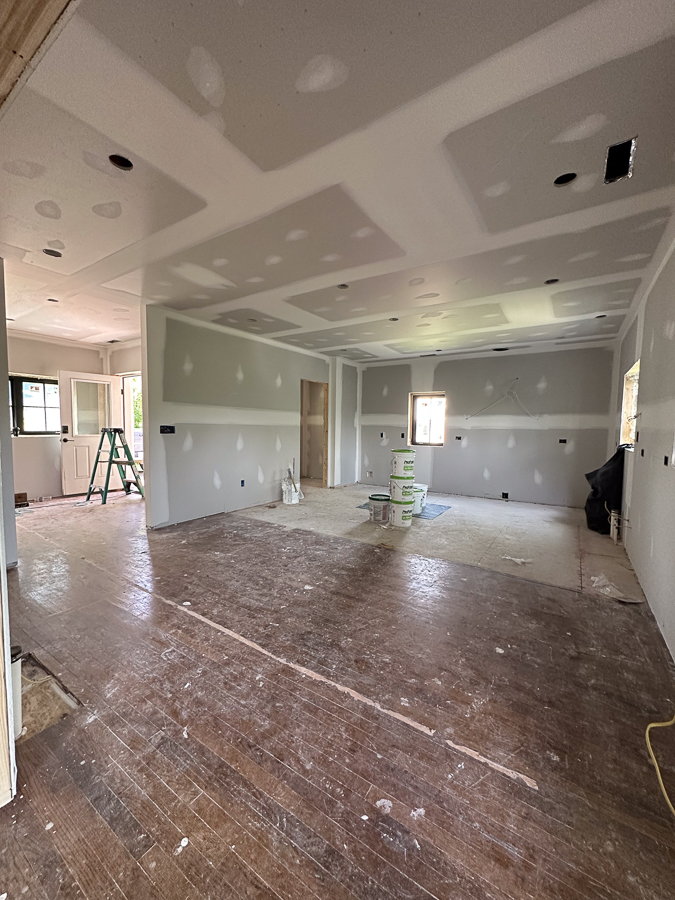
The view from the kitchen corner
Before:
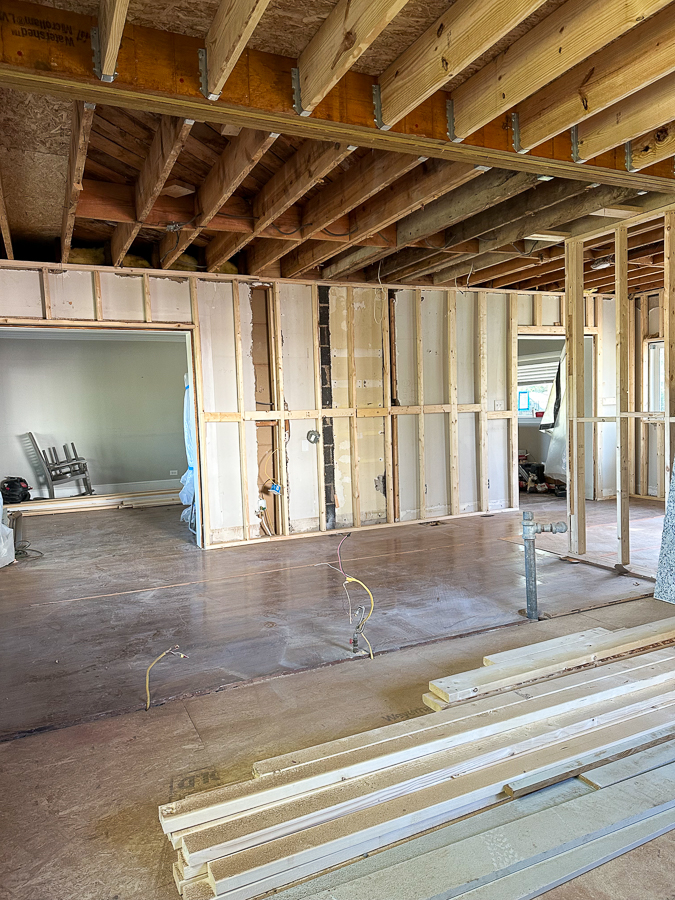
Hanging day:
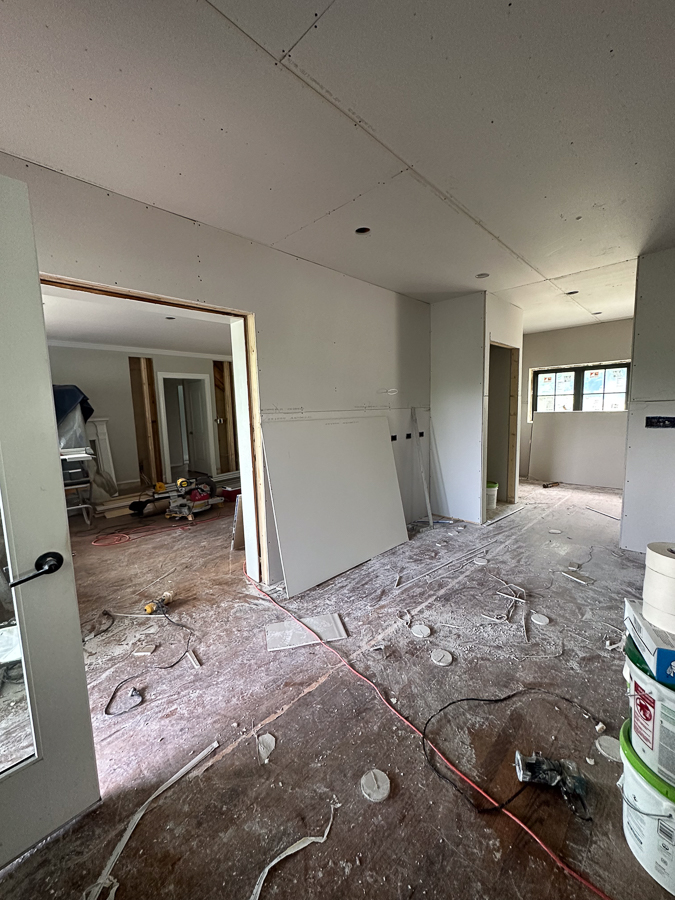
Drywall complete:
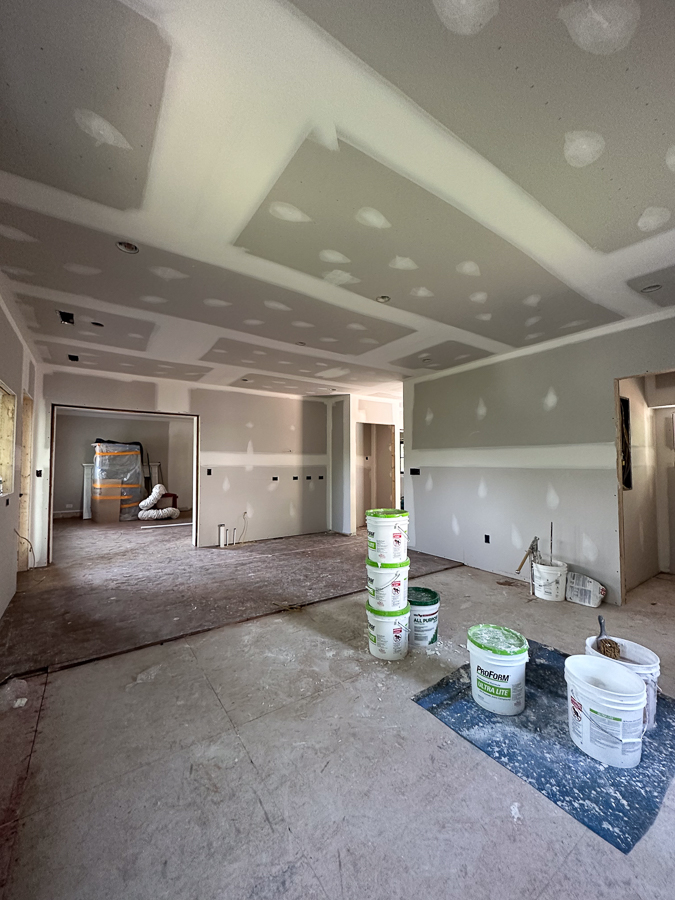
That’s a utility closet in the mudroom and the pantry to the right here:
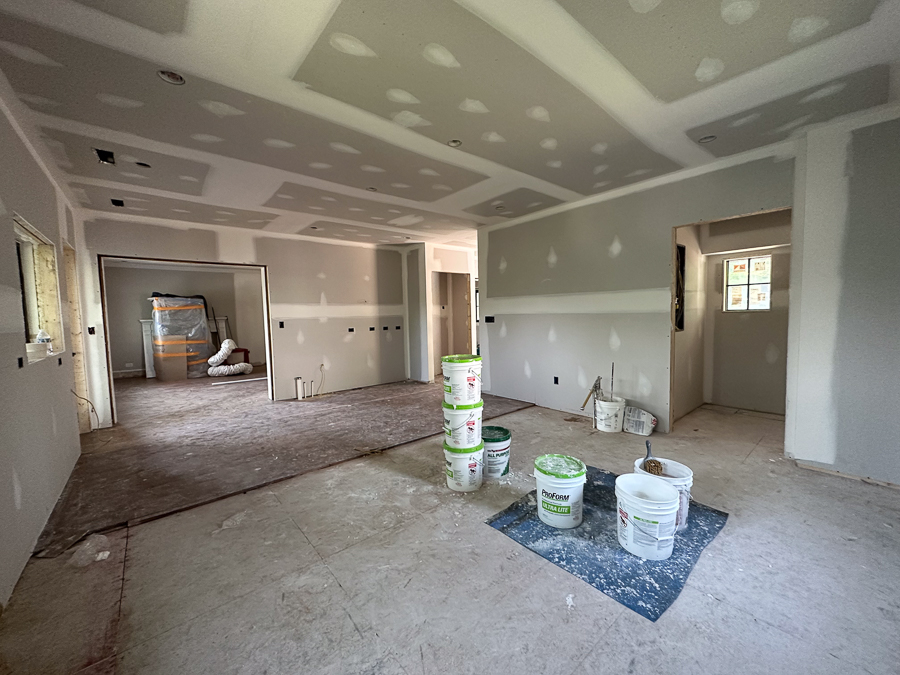
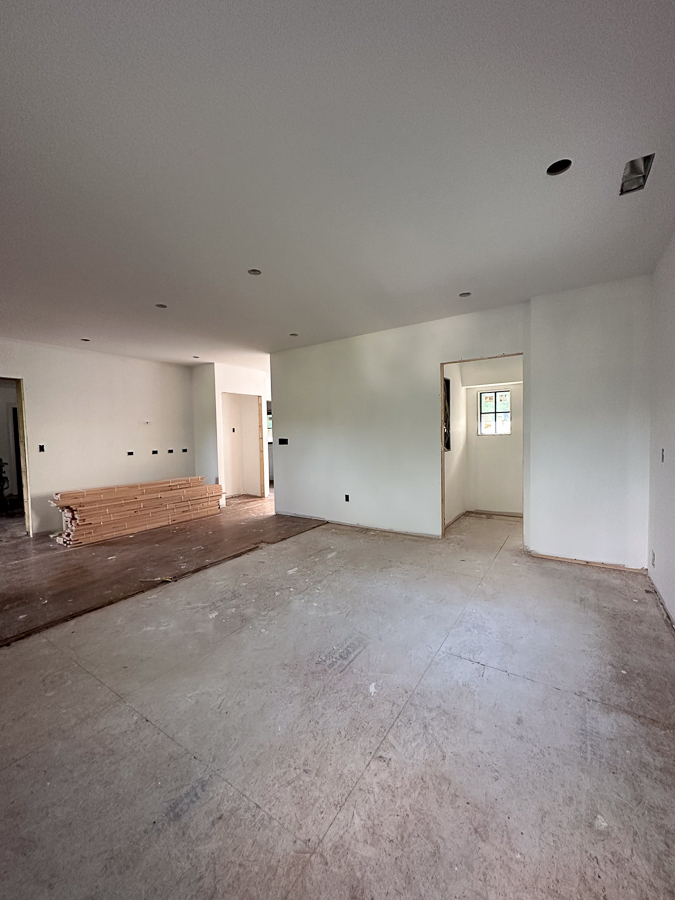
After one coat of paint. Ready for hardwood floors!
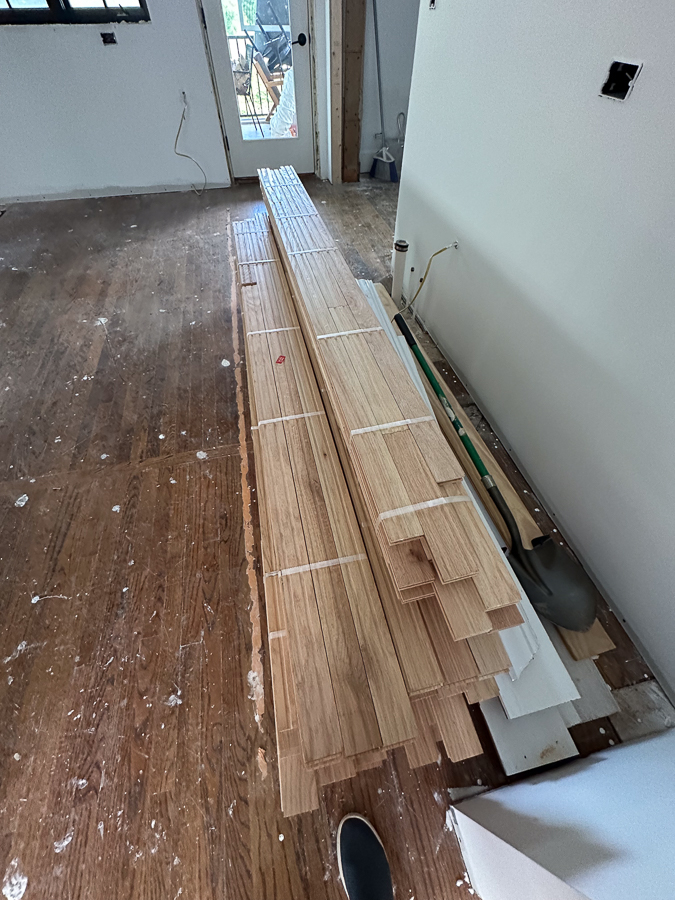
This is the natural color our whole house’s hardwoods will be once they are refinished:
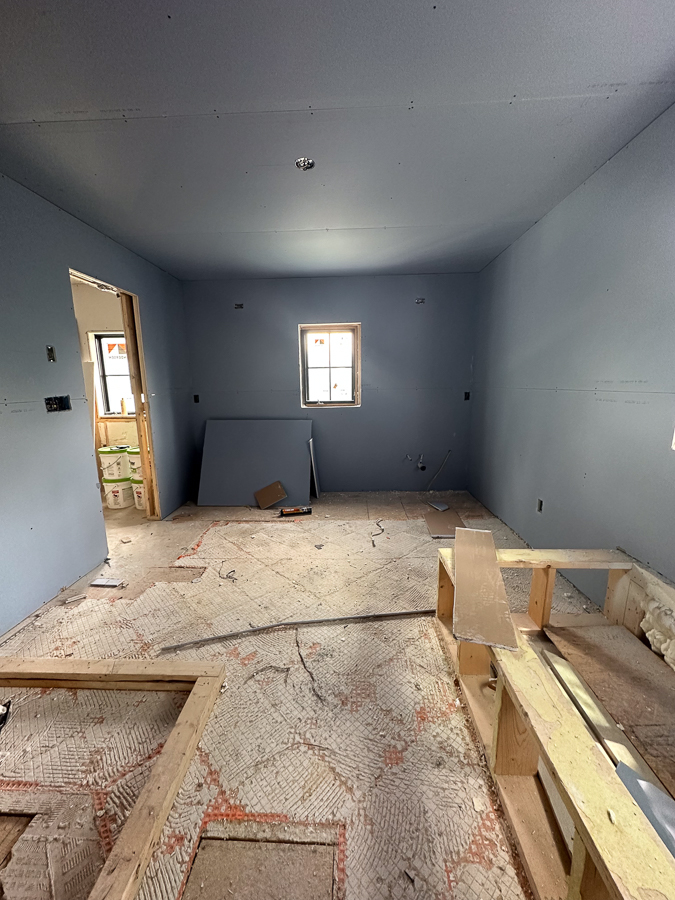
Drywall going in upstairs
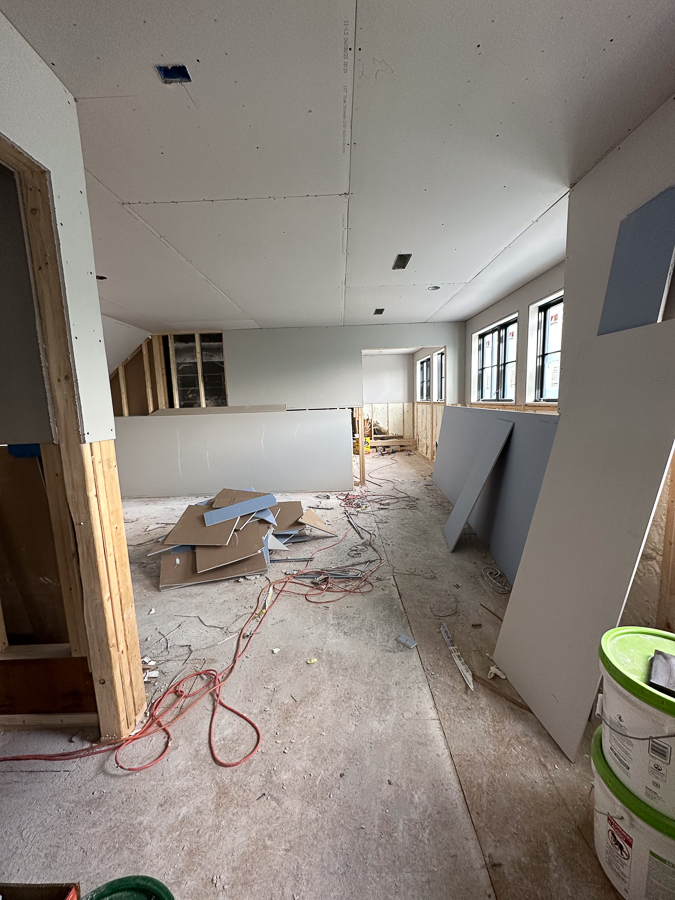
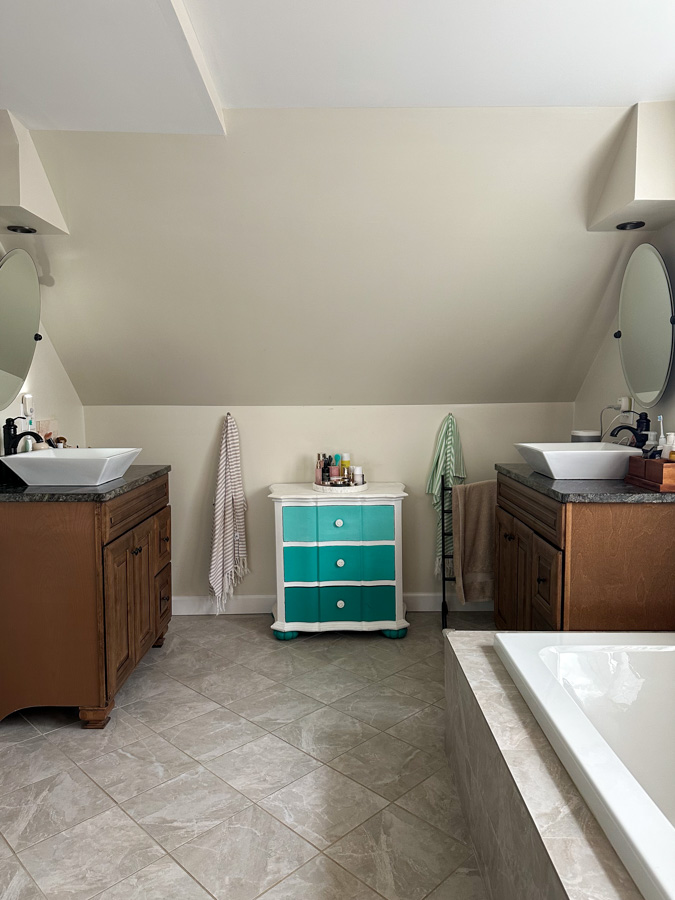
Bathroom Before:
Bathroom with Drywall:
The Basement
They have also repaired the drywall in this corner of the basement that had to get plumbing fixes:
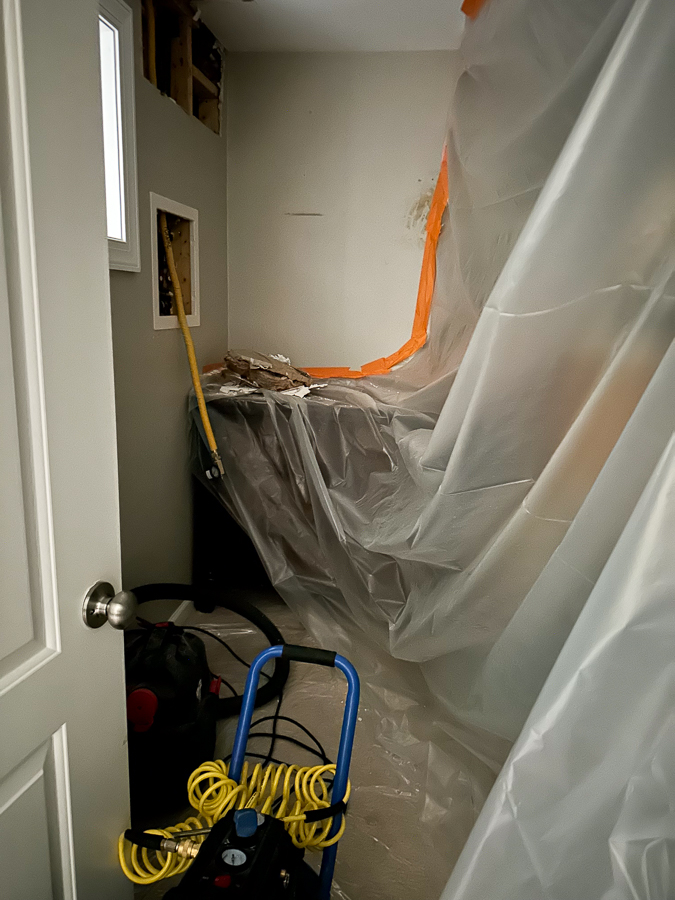
And here where the ceiling was partially taken down:
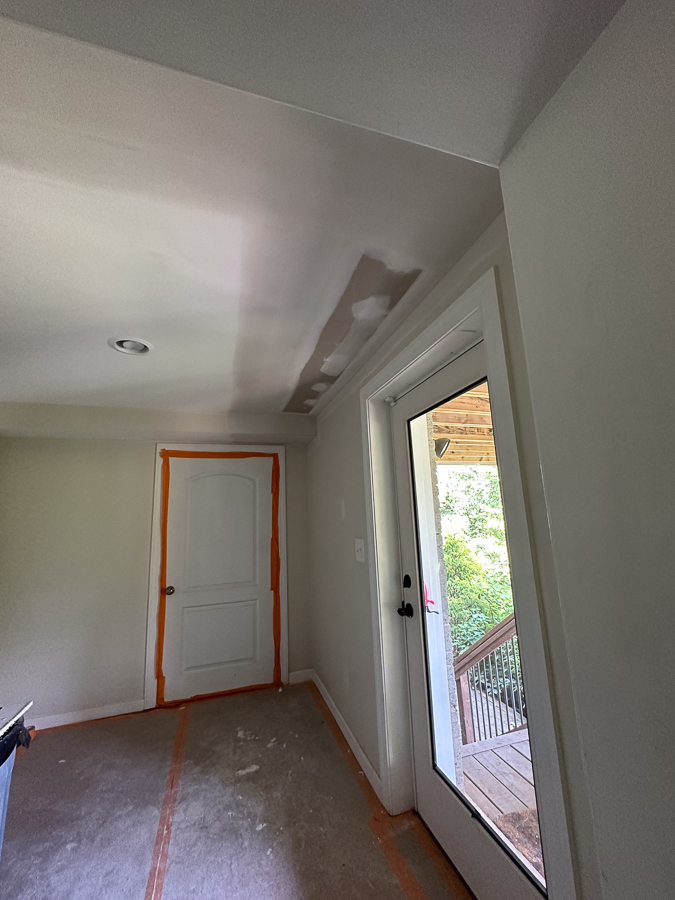
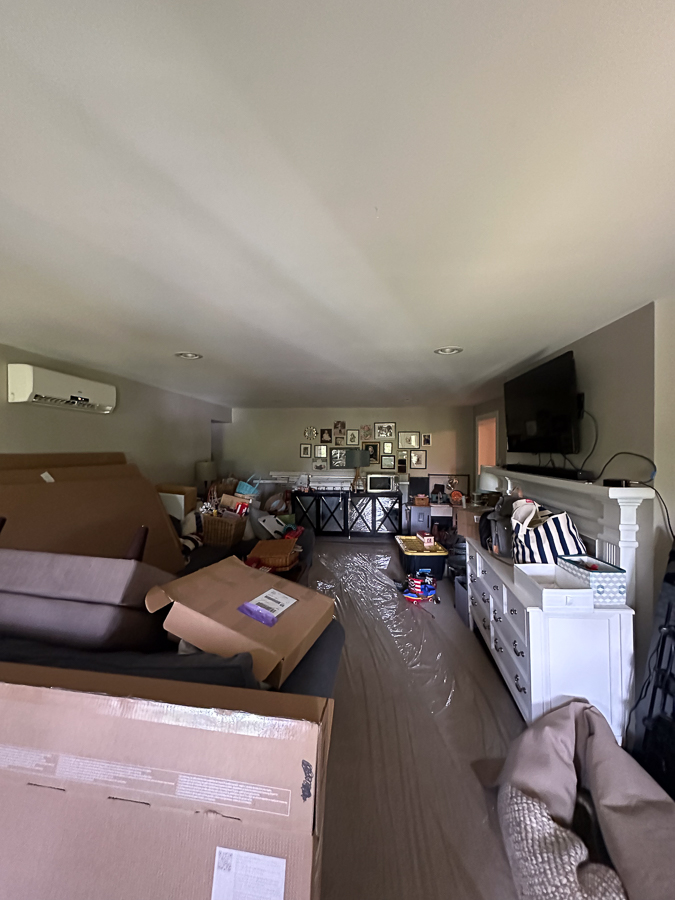
Now that the dust has settled (literally) we can start working on organizing the basement again. It’s SUCH a mess!!
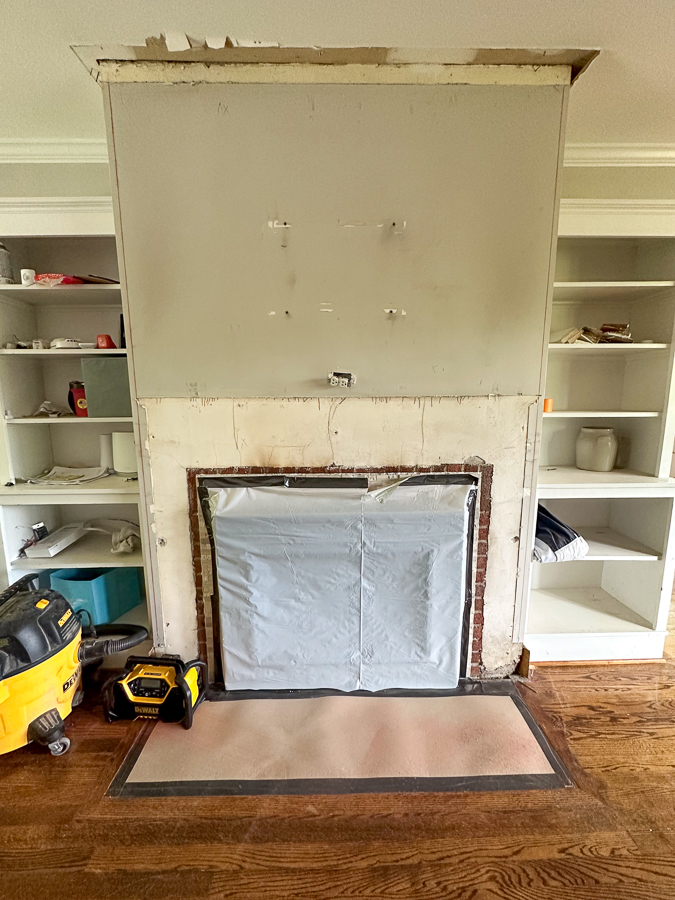
The Fireplace
And our fireplace has also been updated! Thomas framed / drywalled a face front on it so we can have conduit behind for our new Frame TV : )
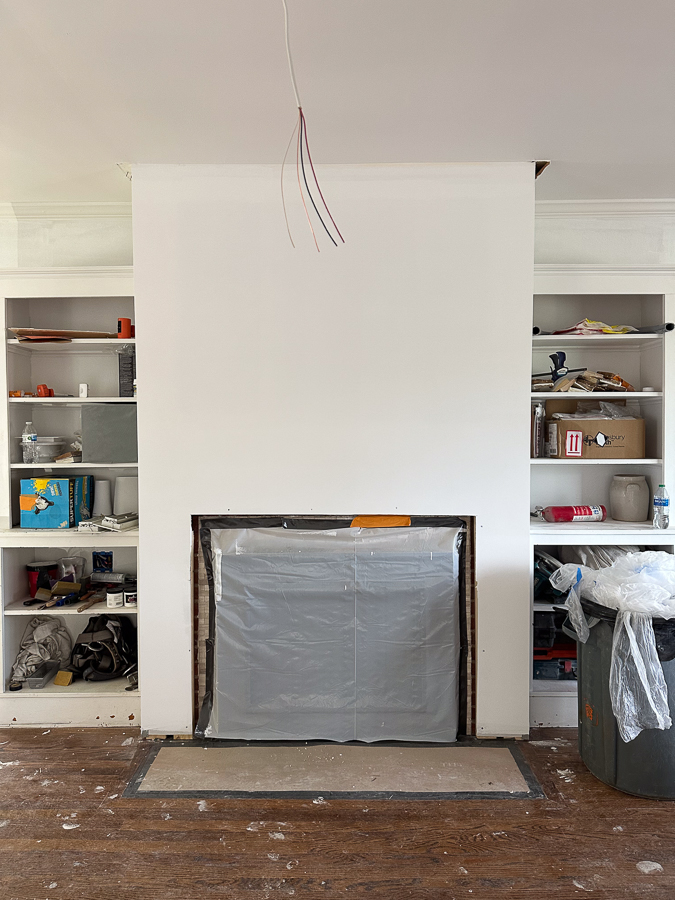
After drywall came the paint crew!
This is just a primer coat, but it sure looks a lot more finished. The black windows are looking better and better!!
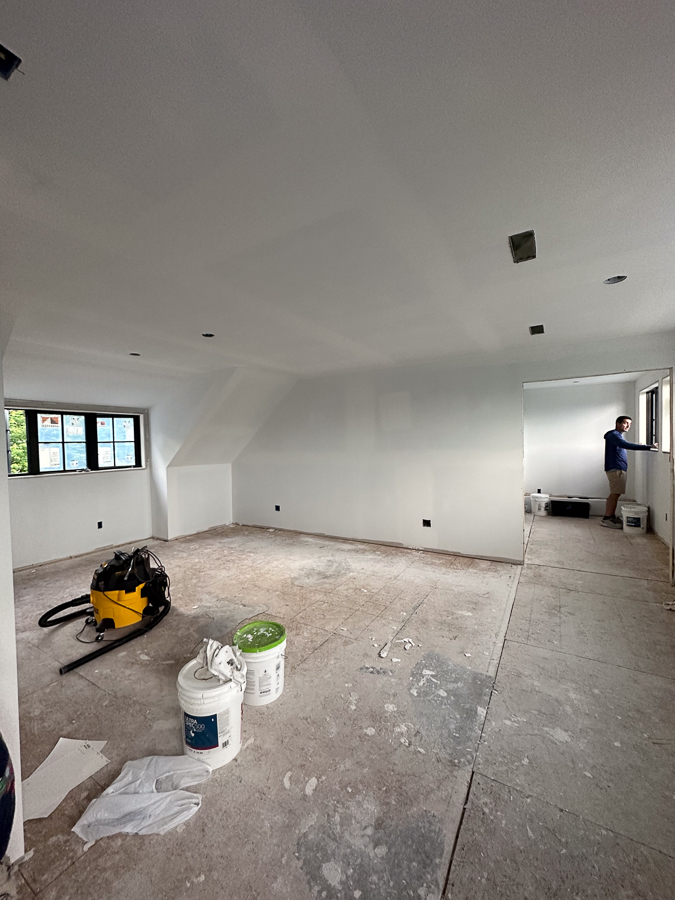
Before:
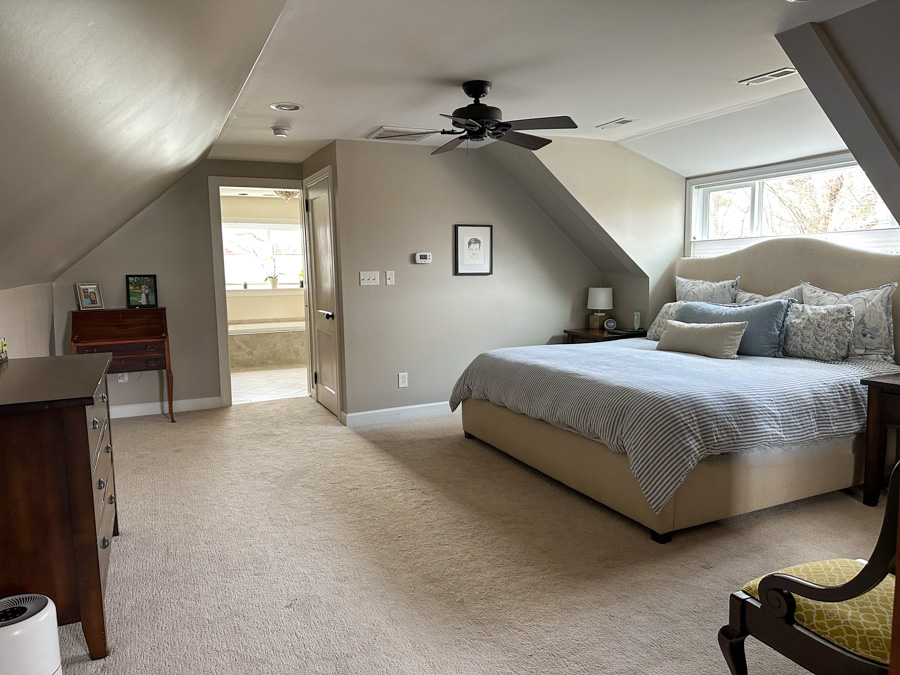
Today:
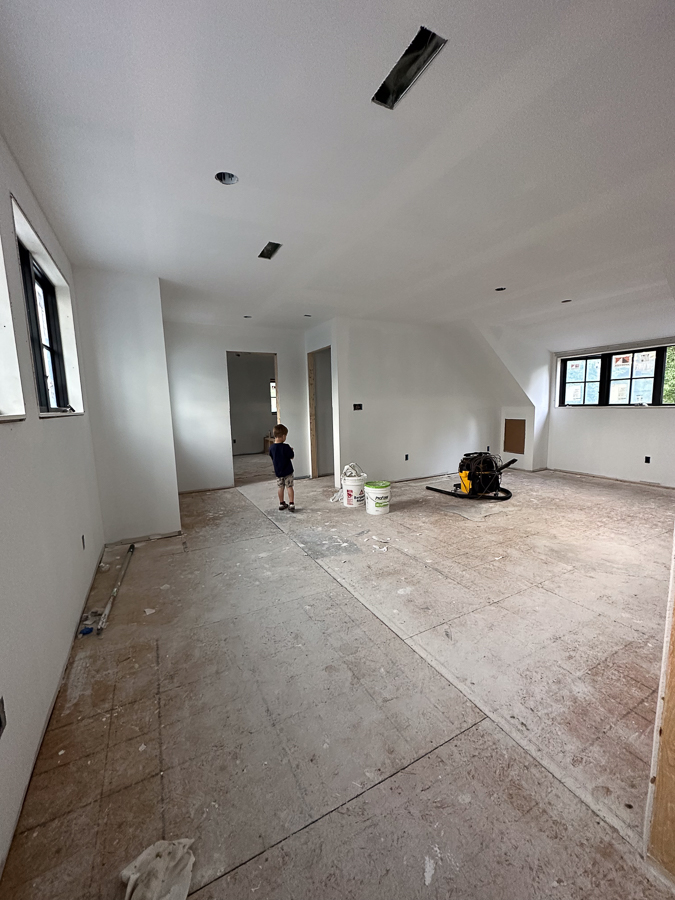
Before:
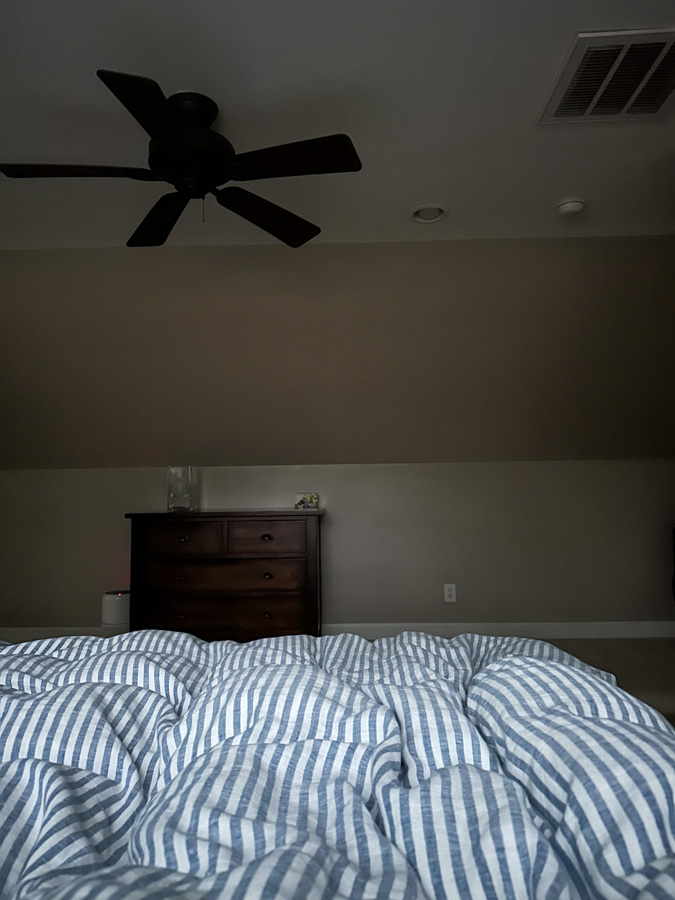
Today:
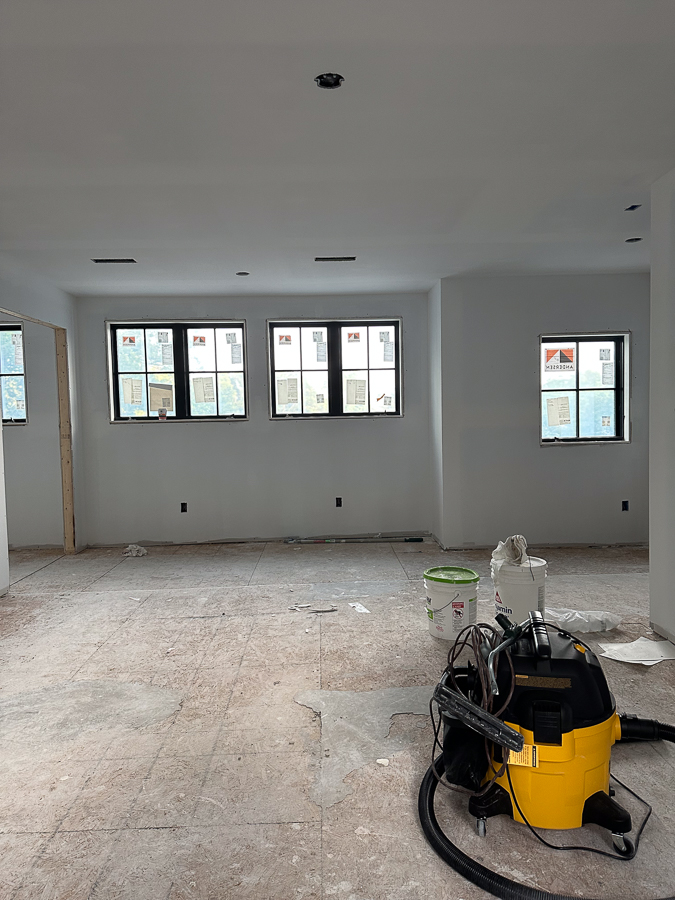
Paint Deliberation
We’ve been going back and forth on paint colors for weeks. Finally we swatched them and the winners were clear. It’s been a real goldilocks effect of “too yellow” (my worst fear) or “too gray.” Add to our confusion that both Sherwin Williams and Benjamin Moore both make paint colors called Pure White and Alabaster that are very different in nature!
I met with my friend Danielle who is an interior designer to discuss some of our accent colors (island, barn door, bedroom wall, front door). She had some great points and opinions which was much appreciated because I am SO indecisive!
The blueish color on the right is Ben Moore Pure White which is most definitely not a pure white! The color in the middle is Sherwin Williams Pure White.
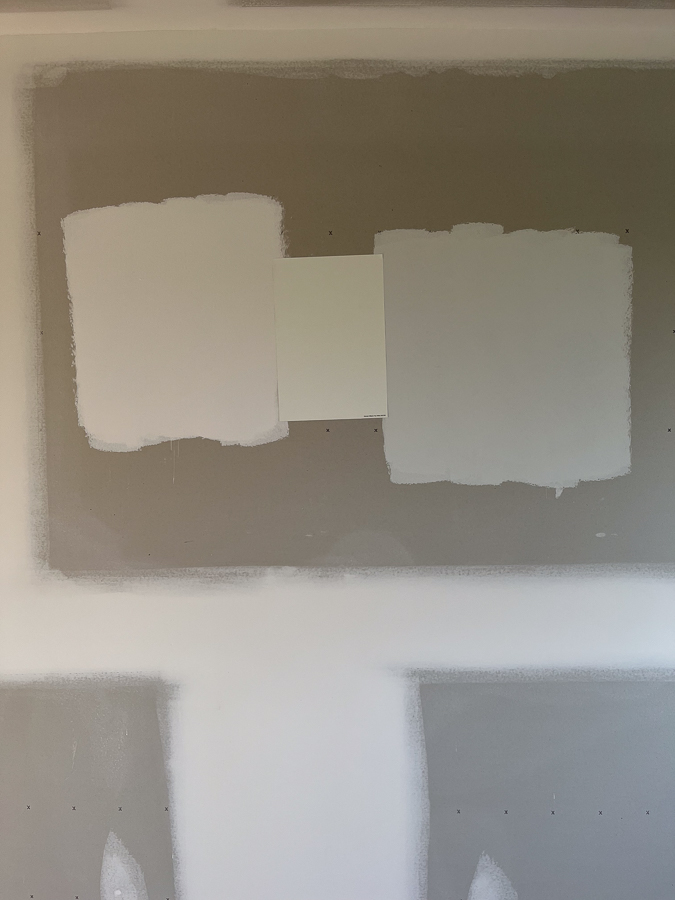
Our decision is Chantilly Lace on both the outside and the inside! It’s a very neutral white without yellow or blue and that’s what we want.
Chantilly Lace / White Dove / BM Alabaster
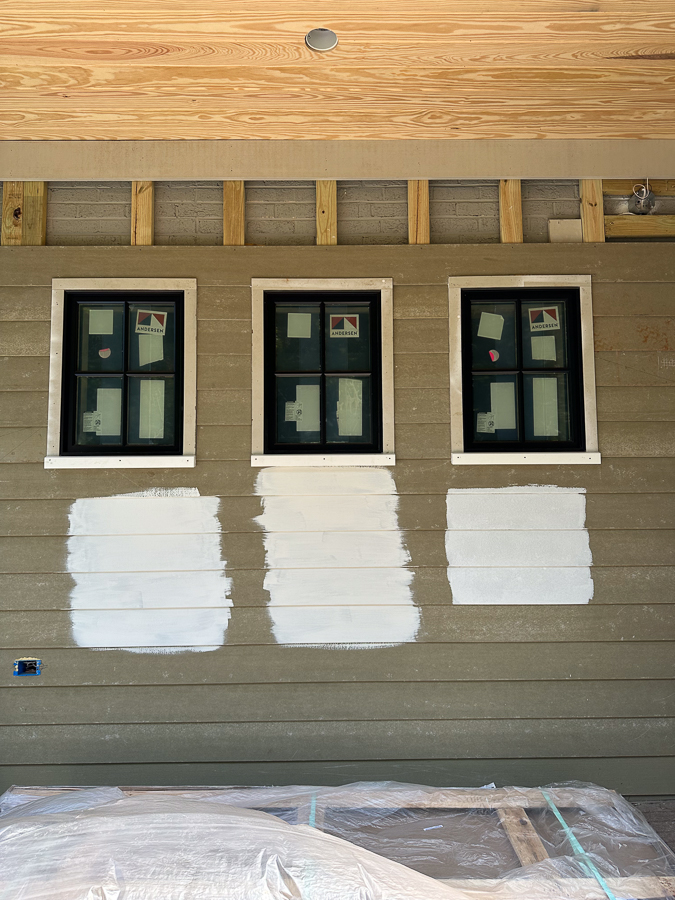
White Dove (middle) looking way too yellow and BM Alabaster (right) looking very gray in evening light. Chantilly Lace is white all the time!
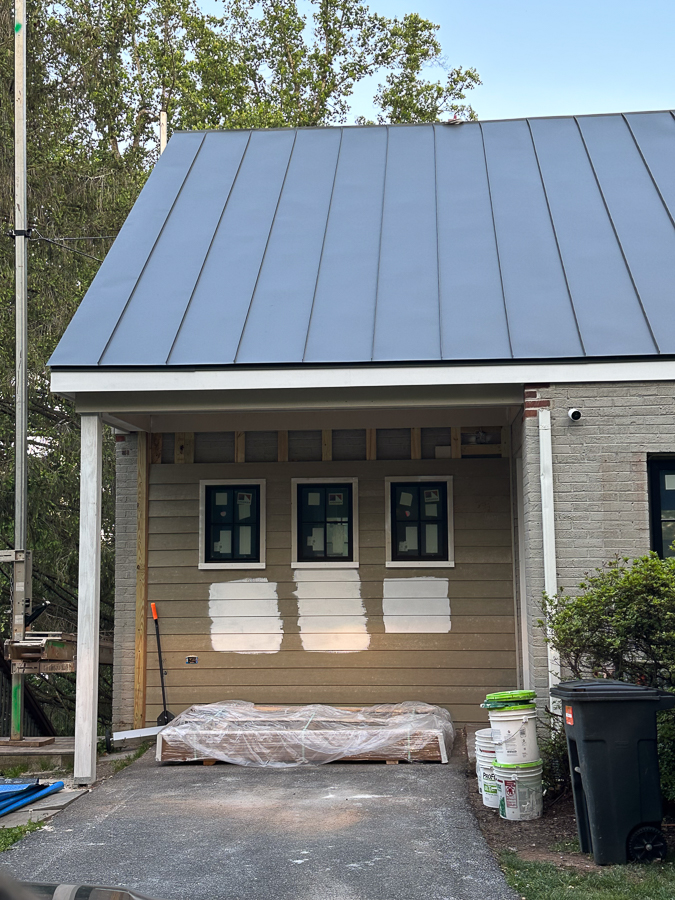
Front Door Trim
I’ve been wondering for weeks if we should take down the old fashioned and ornate trim around the front door and put up something very simple and modern instead. Thomas told me it would be too difficult and we should just leave it.
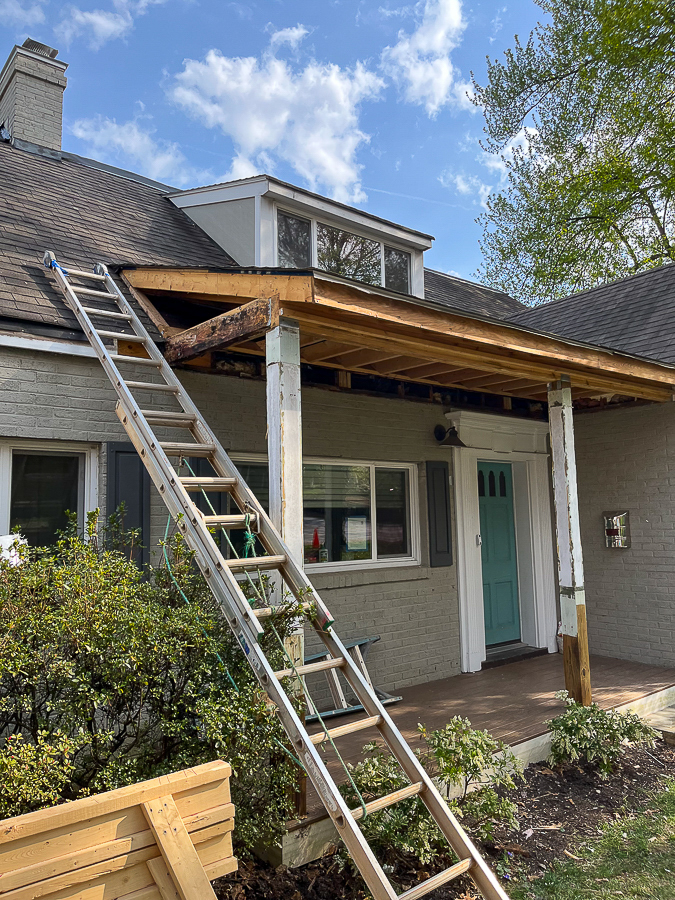
Then the next day I drove by the house and did a double take because he was taking it down right then and there!
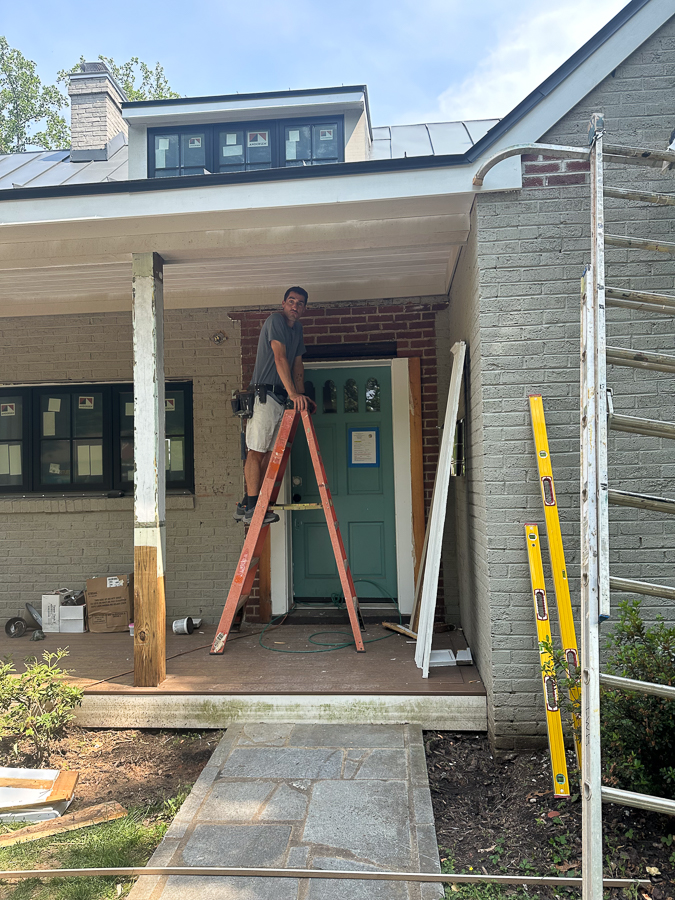
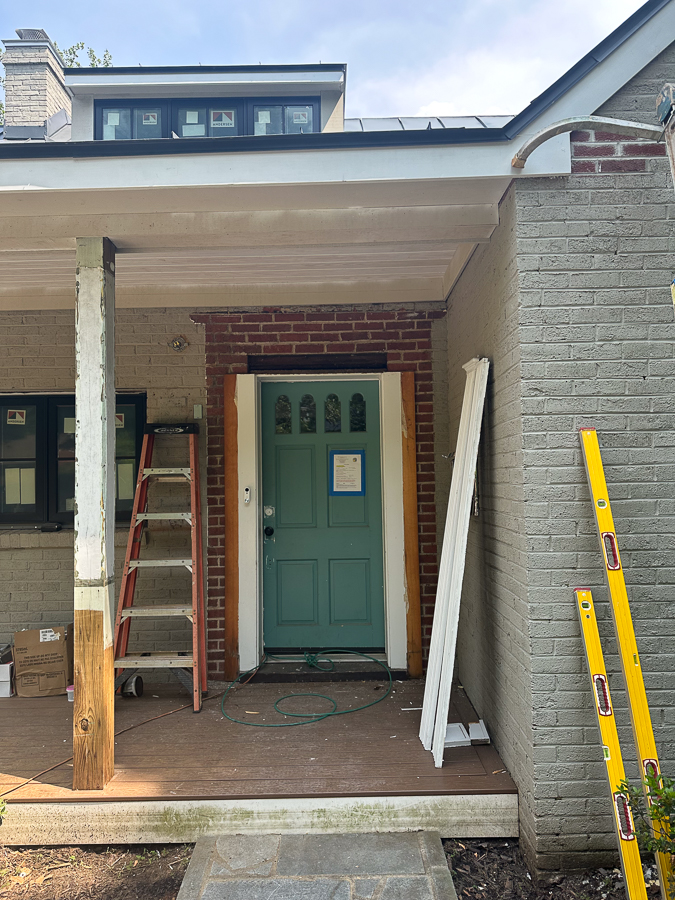
Now we get to look at red brick for weeks (months?) until we paint the exterior in the home stretch : – )
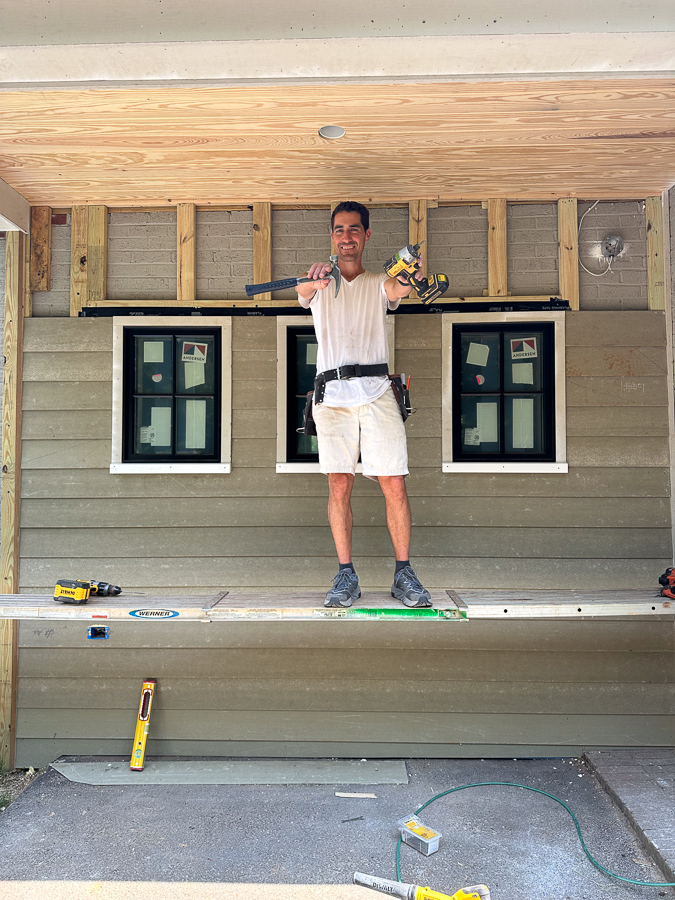
Thomas is having lots of fun “wearing his tool belt” after many years of doing too much office work. He normally spends the first half of his day on the business side of the business and the late afternoons and weekends at the house. I’ll be glad to have him home on the early side again when this is all over : )
